
How we Exposed a Brick Wall, so YOU can too!
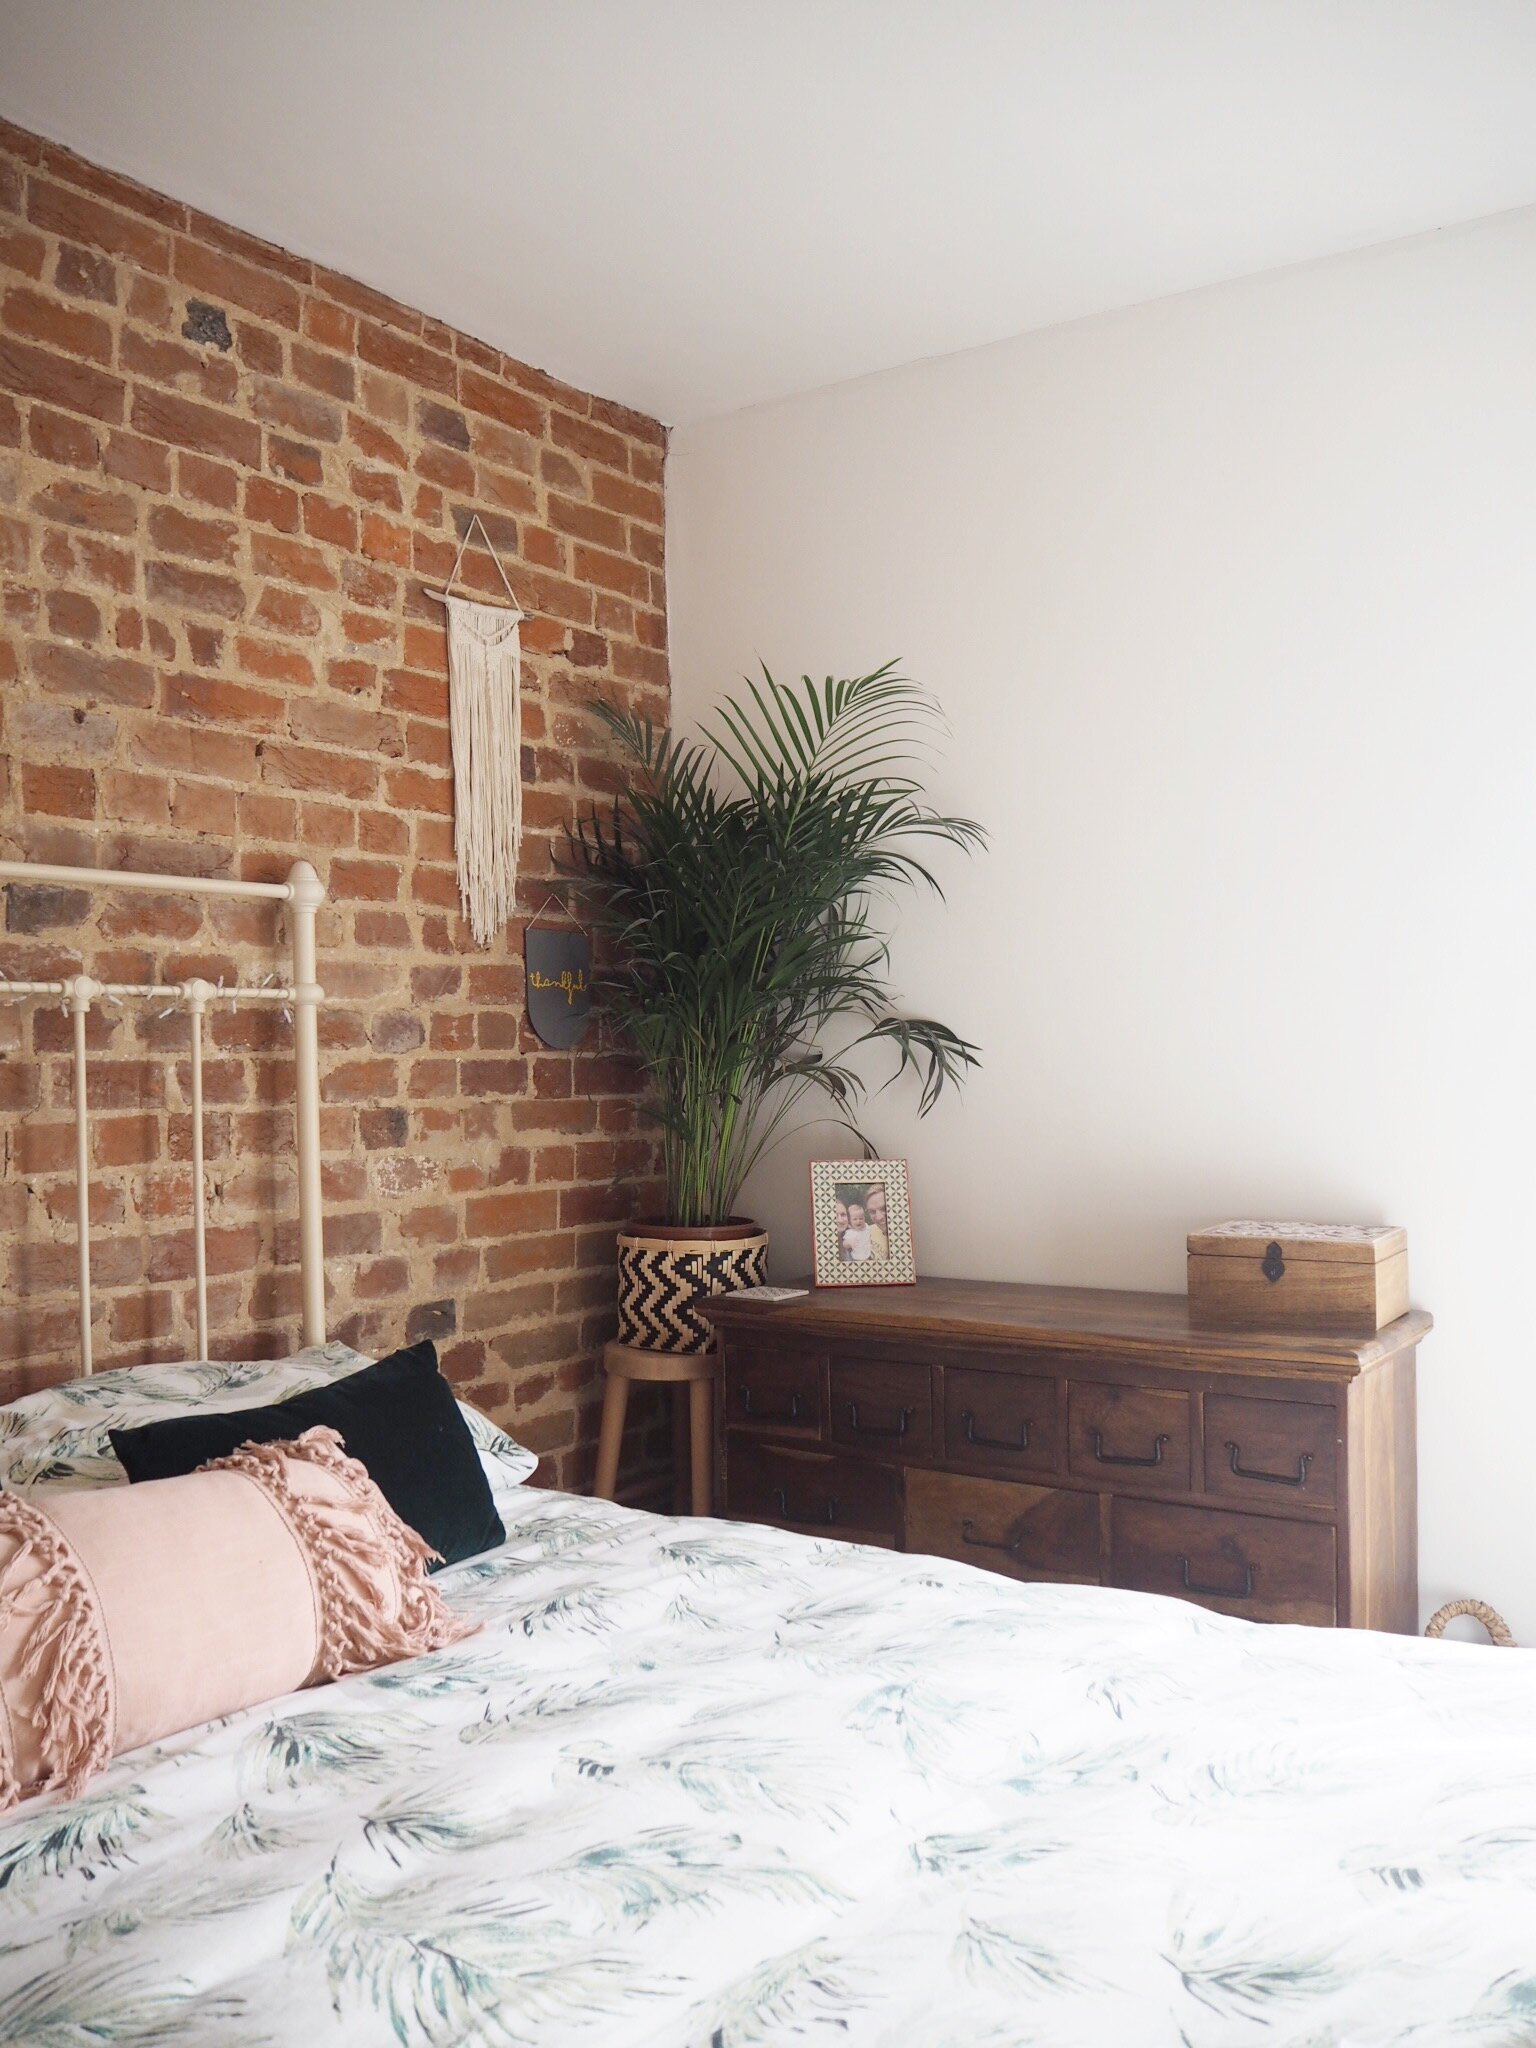
Two of the things that get the most comments over on my Instagram @theottohouse are our bathroom tiles and this exposed brick wall. It really was so very simple to do and at next-to-nothing cost, is a great way to add character to a room on a low budget, but despite that we still felt pretty intimidated by the job and almost didn’t go for it. Do you have similar apprehensions? Read on to see how we did it and how we feel about living with exposed brick, one year on.
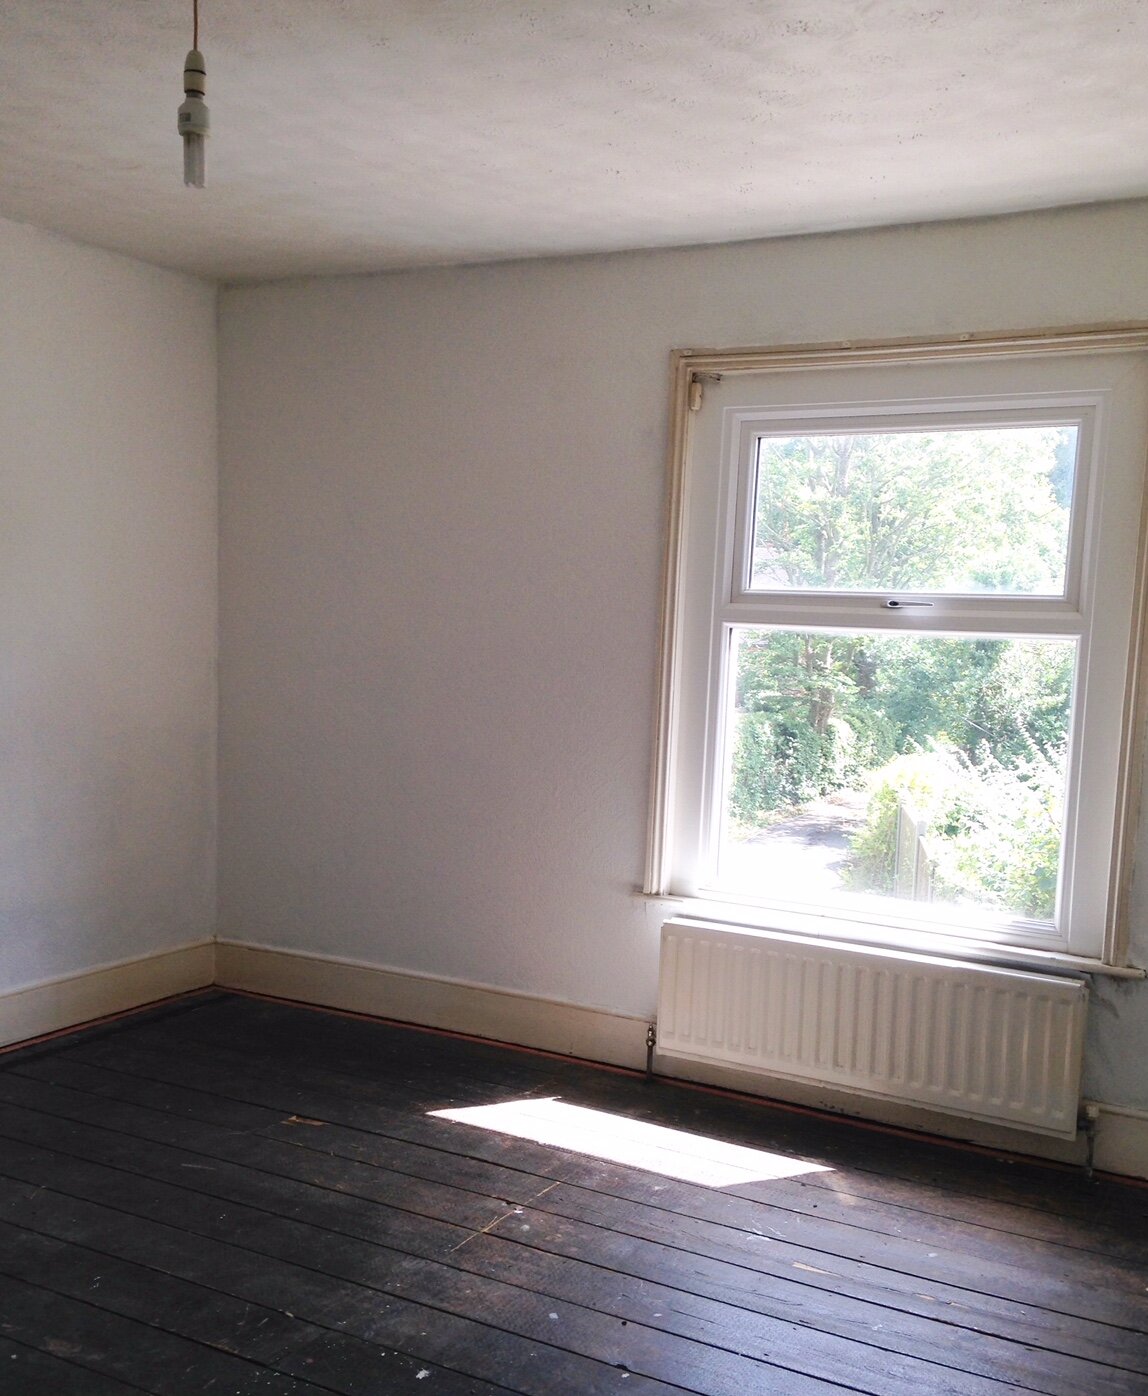
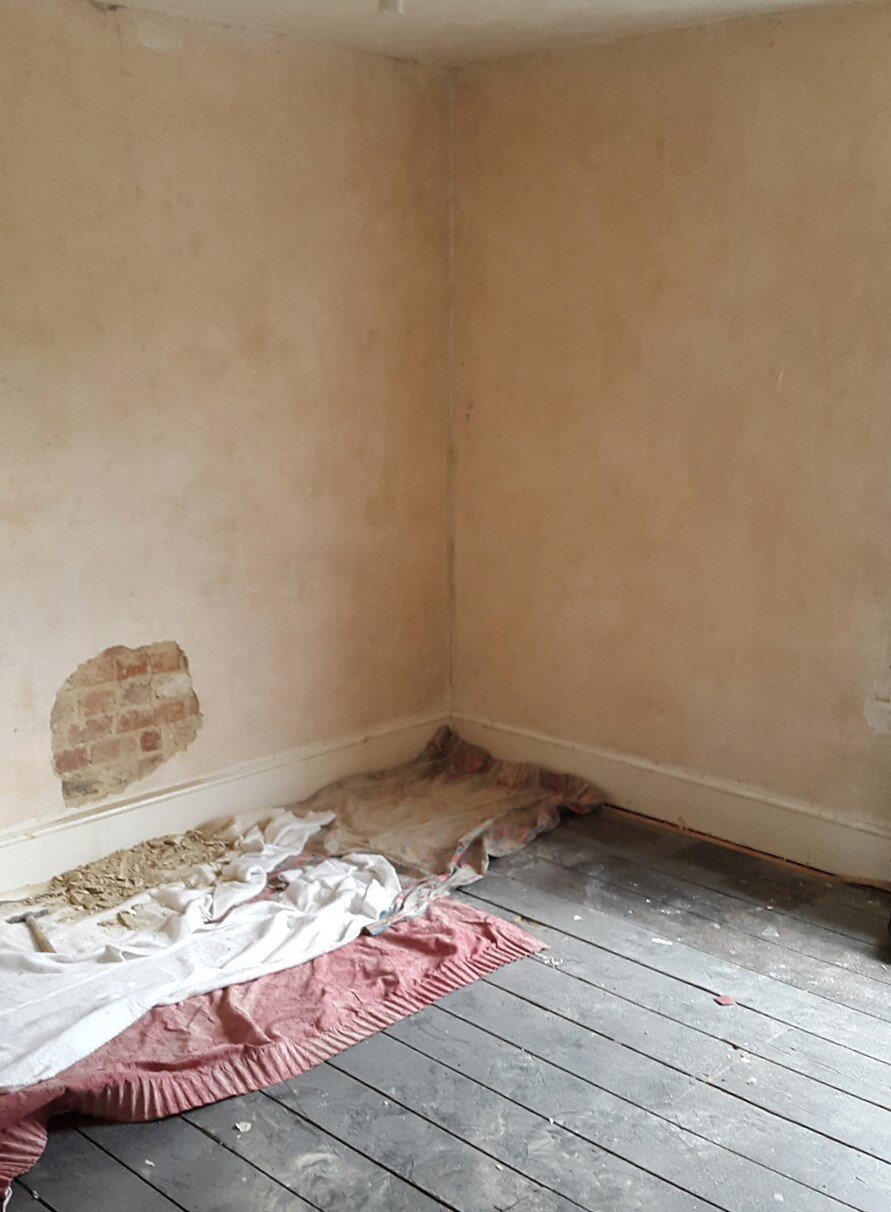
1. Firstly, you need to make sure you know your wall. What’s behind the plaster? An exposed brick on an 80’s cookie cutter home is not going to give you the character and colour variation of an old cottage, although you could always paint it I suppose?Equally, you don’t want to be taking the plaster off if half the wall is going to come down with it. Budget feature wall that will not be! In case our idea was completely bonkers, we tested by exposing a small hole where we knew our bed would eventually be (which could cover up any disasters if required) but, encouraged by what we saw, we nervously went for it!
2. The job is very dusty so ensure the room is as empty as possible, furniture covered, carpet rolled up and windows open. We hadn’t moved in yet but if we were living here whilst completing the project, I think I would have moved the kids out to my parents for a few days to avoid the dust inhalation. We also wore goggles and masks for the job and in hindsight I wish I’d worn a hat too – my hair was akin to a scarecrow afterwards!
3. Use a chisel to take away the current plaster, ours came away easily (it was pretty old) and with very little force. We used a heavy duty 20″ scraper which is a bit like a chisel but slightly curved at the bottom to get good leverage. Be careful on the corners as you don’t want to take away parts of the ceiling and nearby walls.
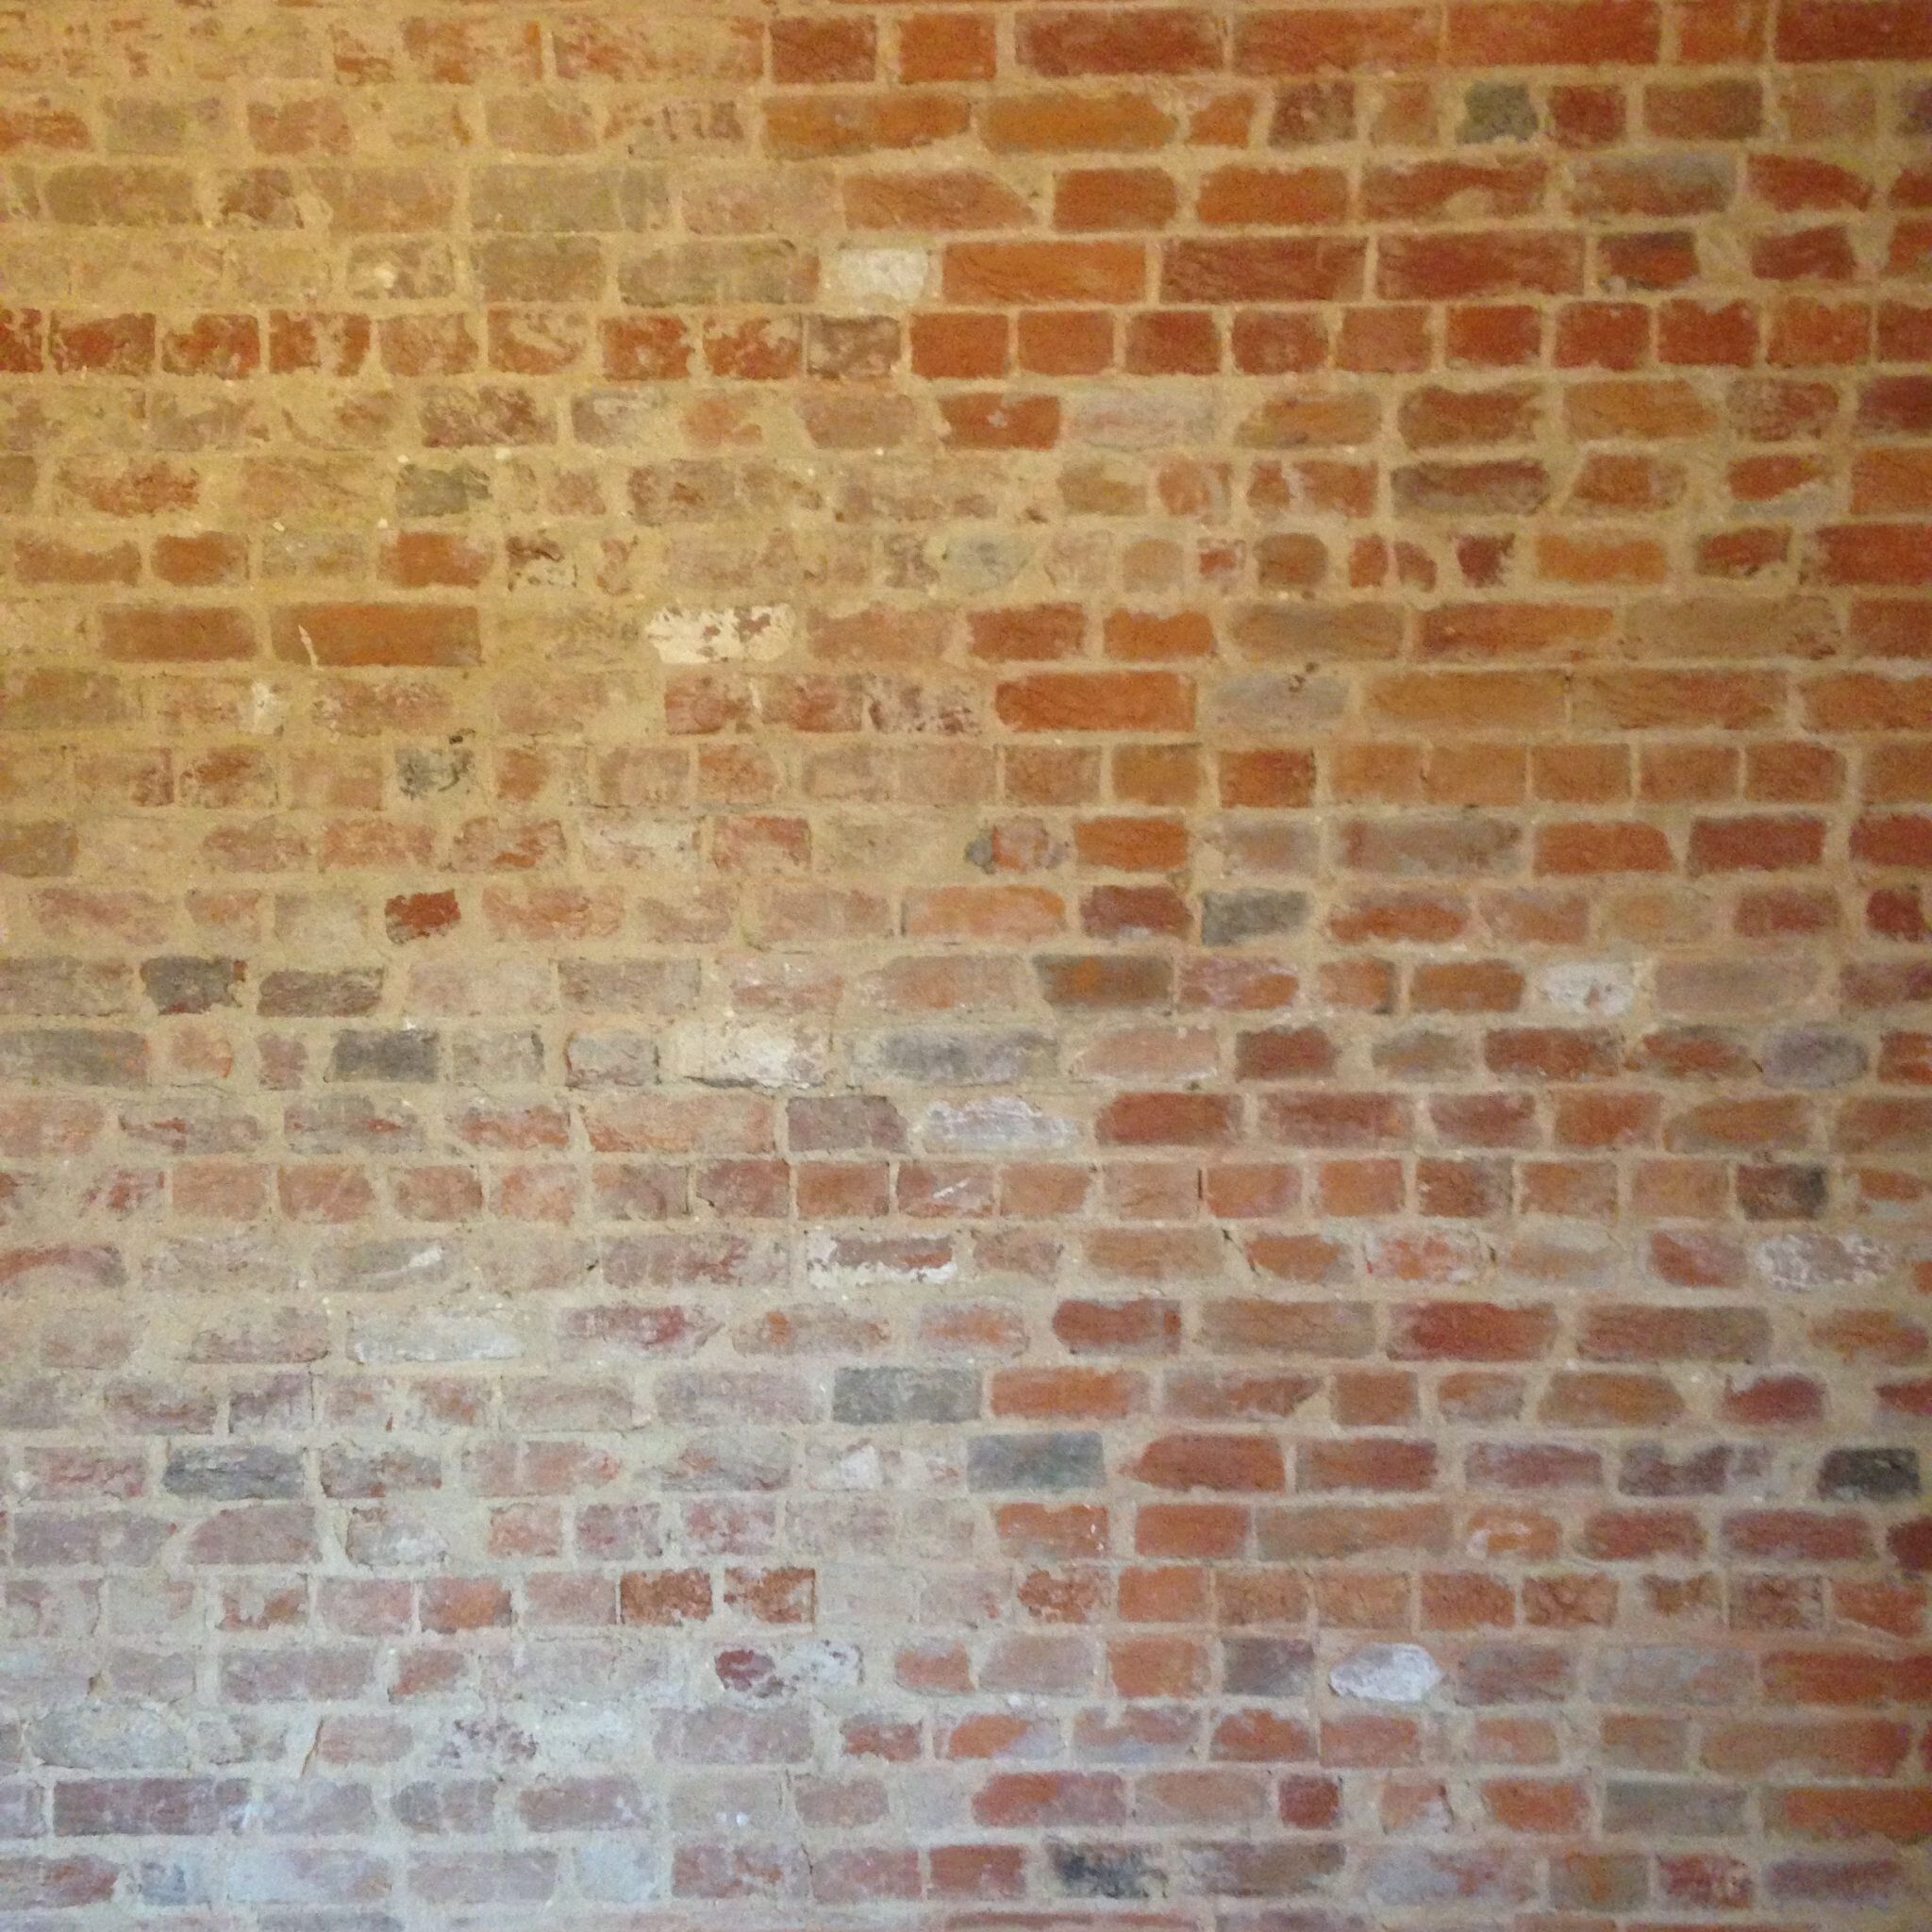
4. Once the wall is fully naked and exposed in all its glory, use a large wire brush to brush the wall ALL over, starting along the top and working your way down. This job takes a while and will give you some impressive muscle tone in your arms but you will be able to see a noticeable difference as you do it which is highly satisfying! You may also need a couple of wire brushes, depending on how big your wall is as by the time we’d finished ours, we had about three bristles left on the entire brush (which we’d borrowed off my Dad – sorry!) To finally finish the clean-up process, if you have a brush nozzle for your hoover, lightly skim over the brickwork to remove any residue dust or small loose bits of brick and mortar.
5. Finally we used a large paint brush to apply a sealant. You can use various products including watered down PVA or varnish but we had some leftover extra matt floor varnish which has done the job perfectly and didn’t cost us a penny! Hurrah! We did two coats but depending on what sealant you use and the quality of the brickwork, it may require a third.
Living with an exposed brick wall? What’s it like?
One of my main concerns before we started was how dusty it would be to live with. Would it just flake away when you touch it? Would it be rough on the skin?
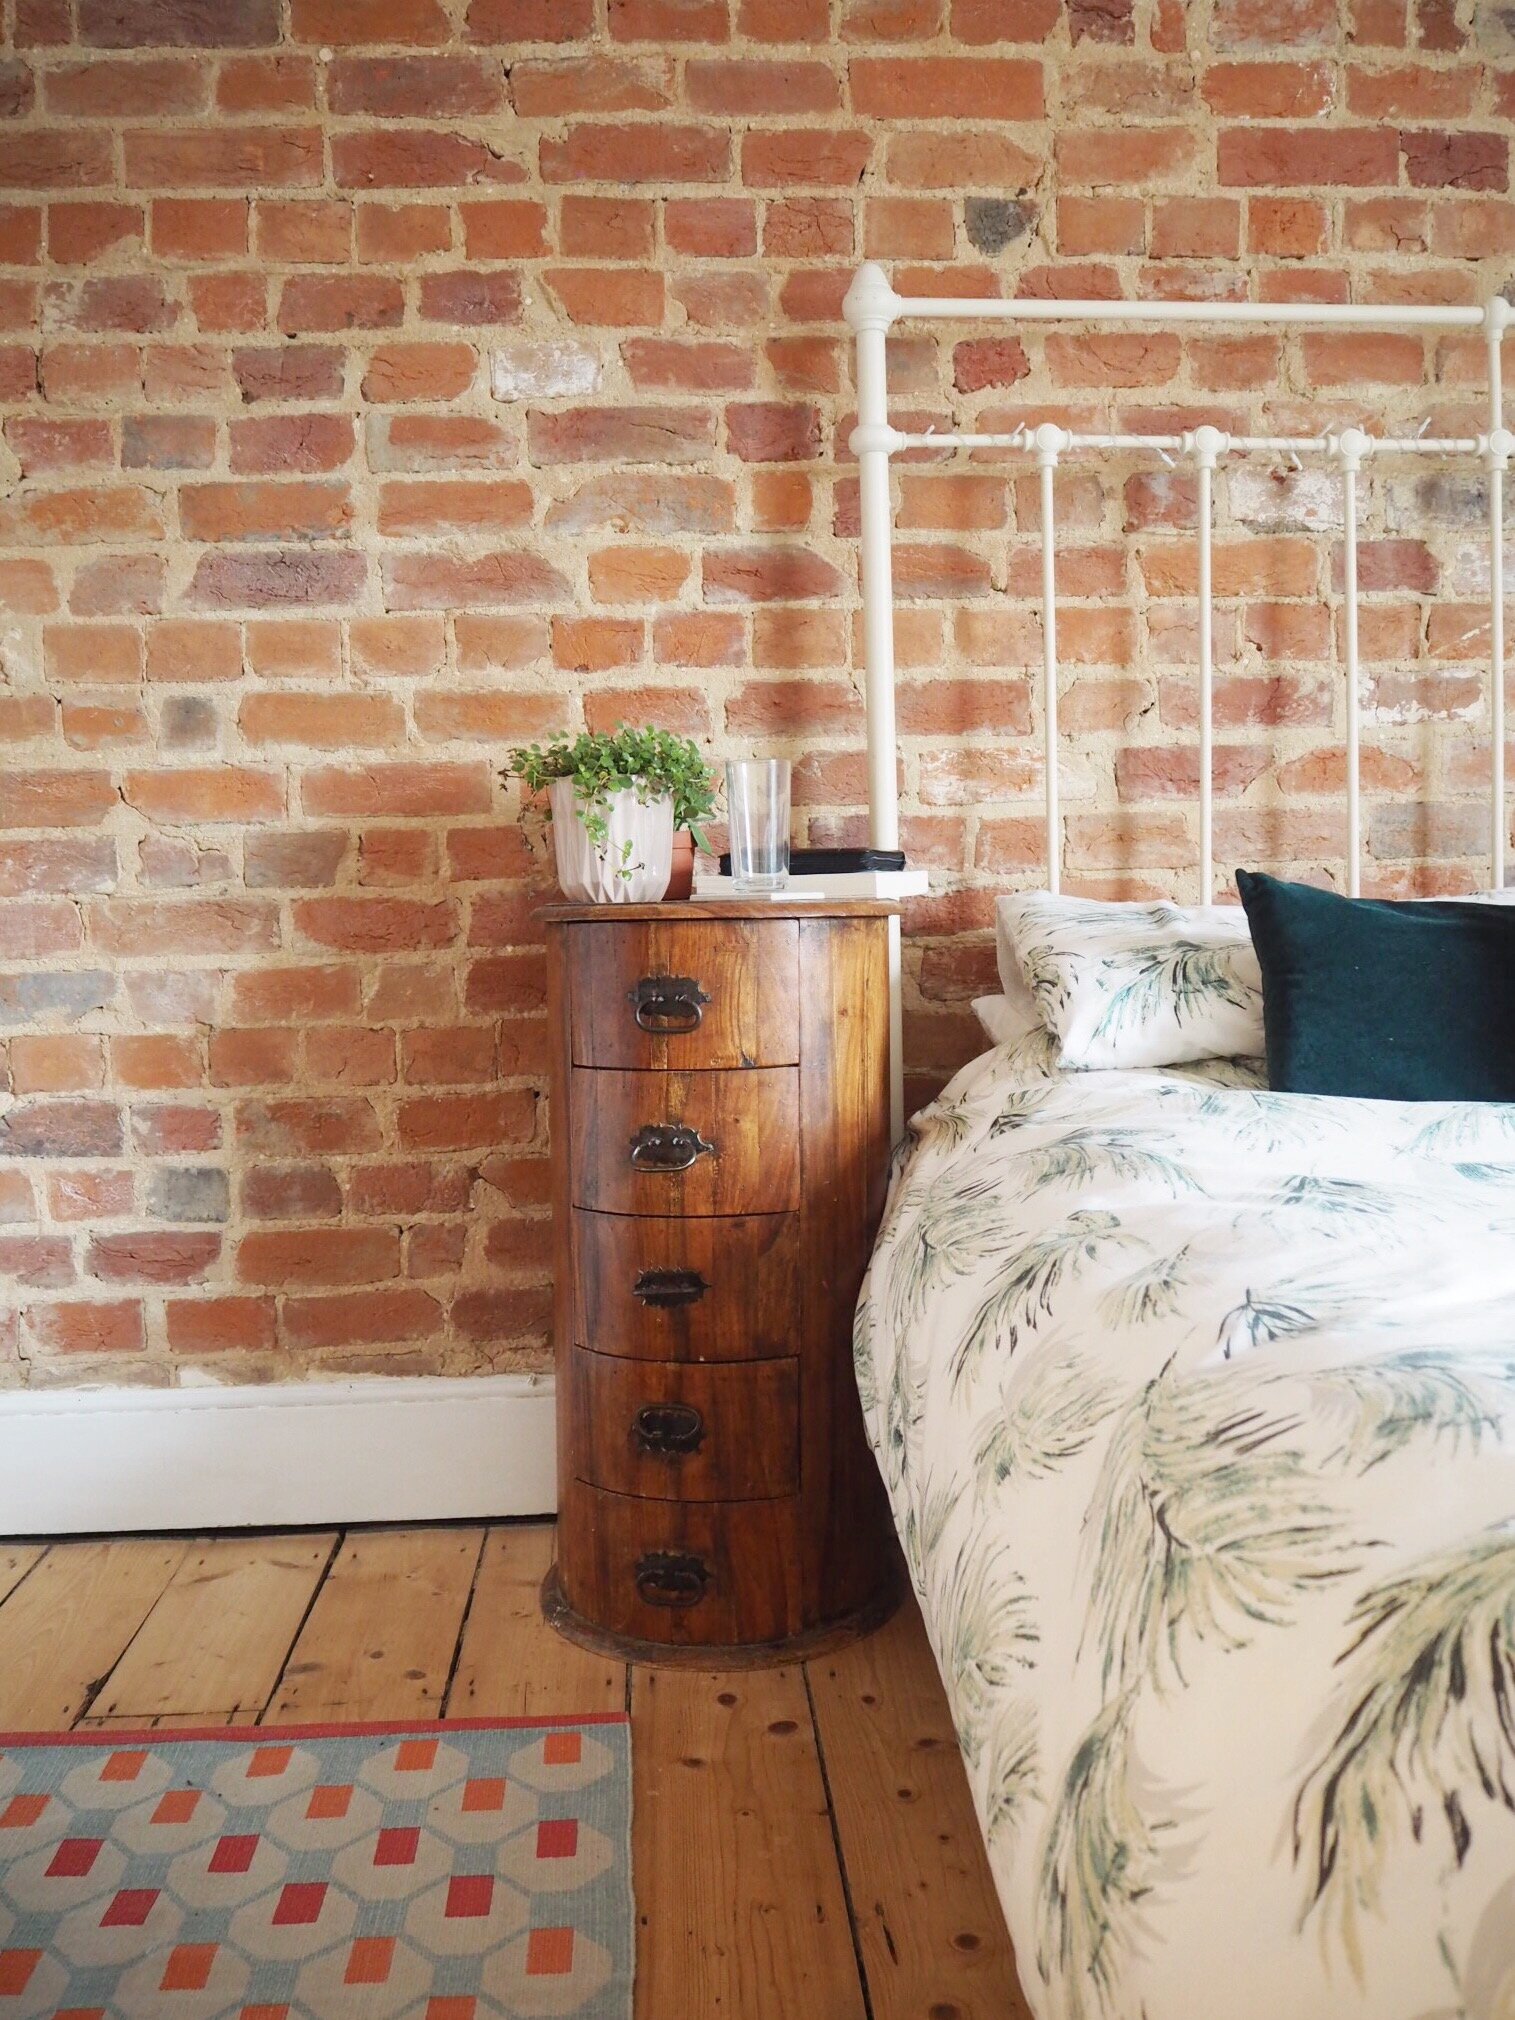
Firstly, we’ve had it in place for over a year and a half now and I can honestly say the positives by far outweigh the negatives. It is no more dusty than anywhere else in the house and I’ve never noticed it flaking off or crumbling when touched. It is obviously rougher than a regular plastered wall, but I believe that texture is what makes is such an interesting addition to a room. I was worried about people grazing their arms (you know like you would when visiting your grandparents and they had woodchip going up the stairs) but I can happily report we’ve had no exposed brick related injuries thus far and it really isn’t that abrasive.

Are you planning on revealing an exposed brick wall? Let me know in the comments if you have any questions about our process.
Related Blog Posts:
8 Tips for Completing DIY Around Young Children
How to furnish your home on a low or non-existent budget