
A quick budget kitchen makeover
After a long drawn out moving process, which had many setbacks along the way, we were absolutely itching to crack on with the renovation as soon as the keys were in our hands. We plan to extend the kitchen and utility room one day, so whilst we've invested in replastering and new electrics in the rest of the house, this temporary makeover was always going to be about being simple, quick and super cheap. We just needed to make it liveable for 3 years or so.
The only problem is...
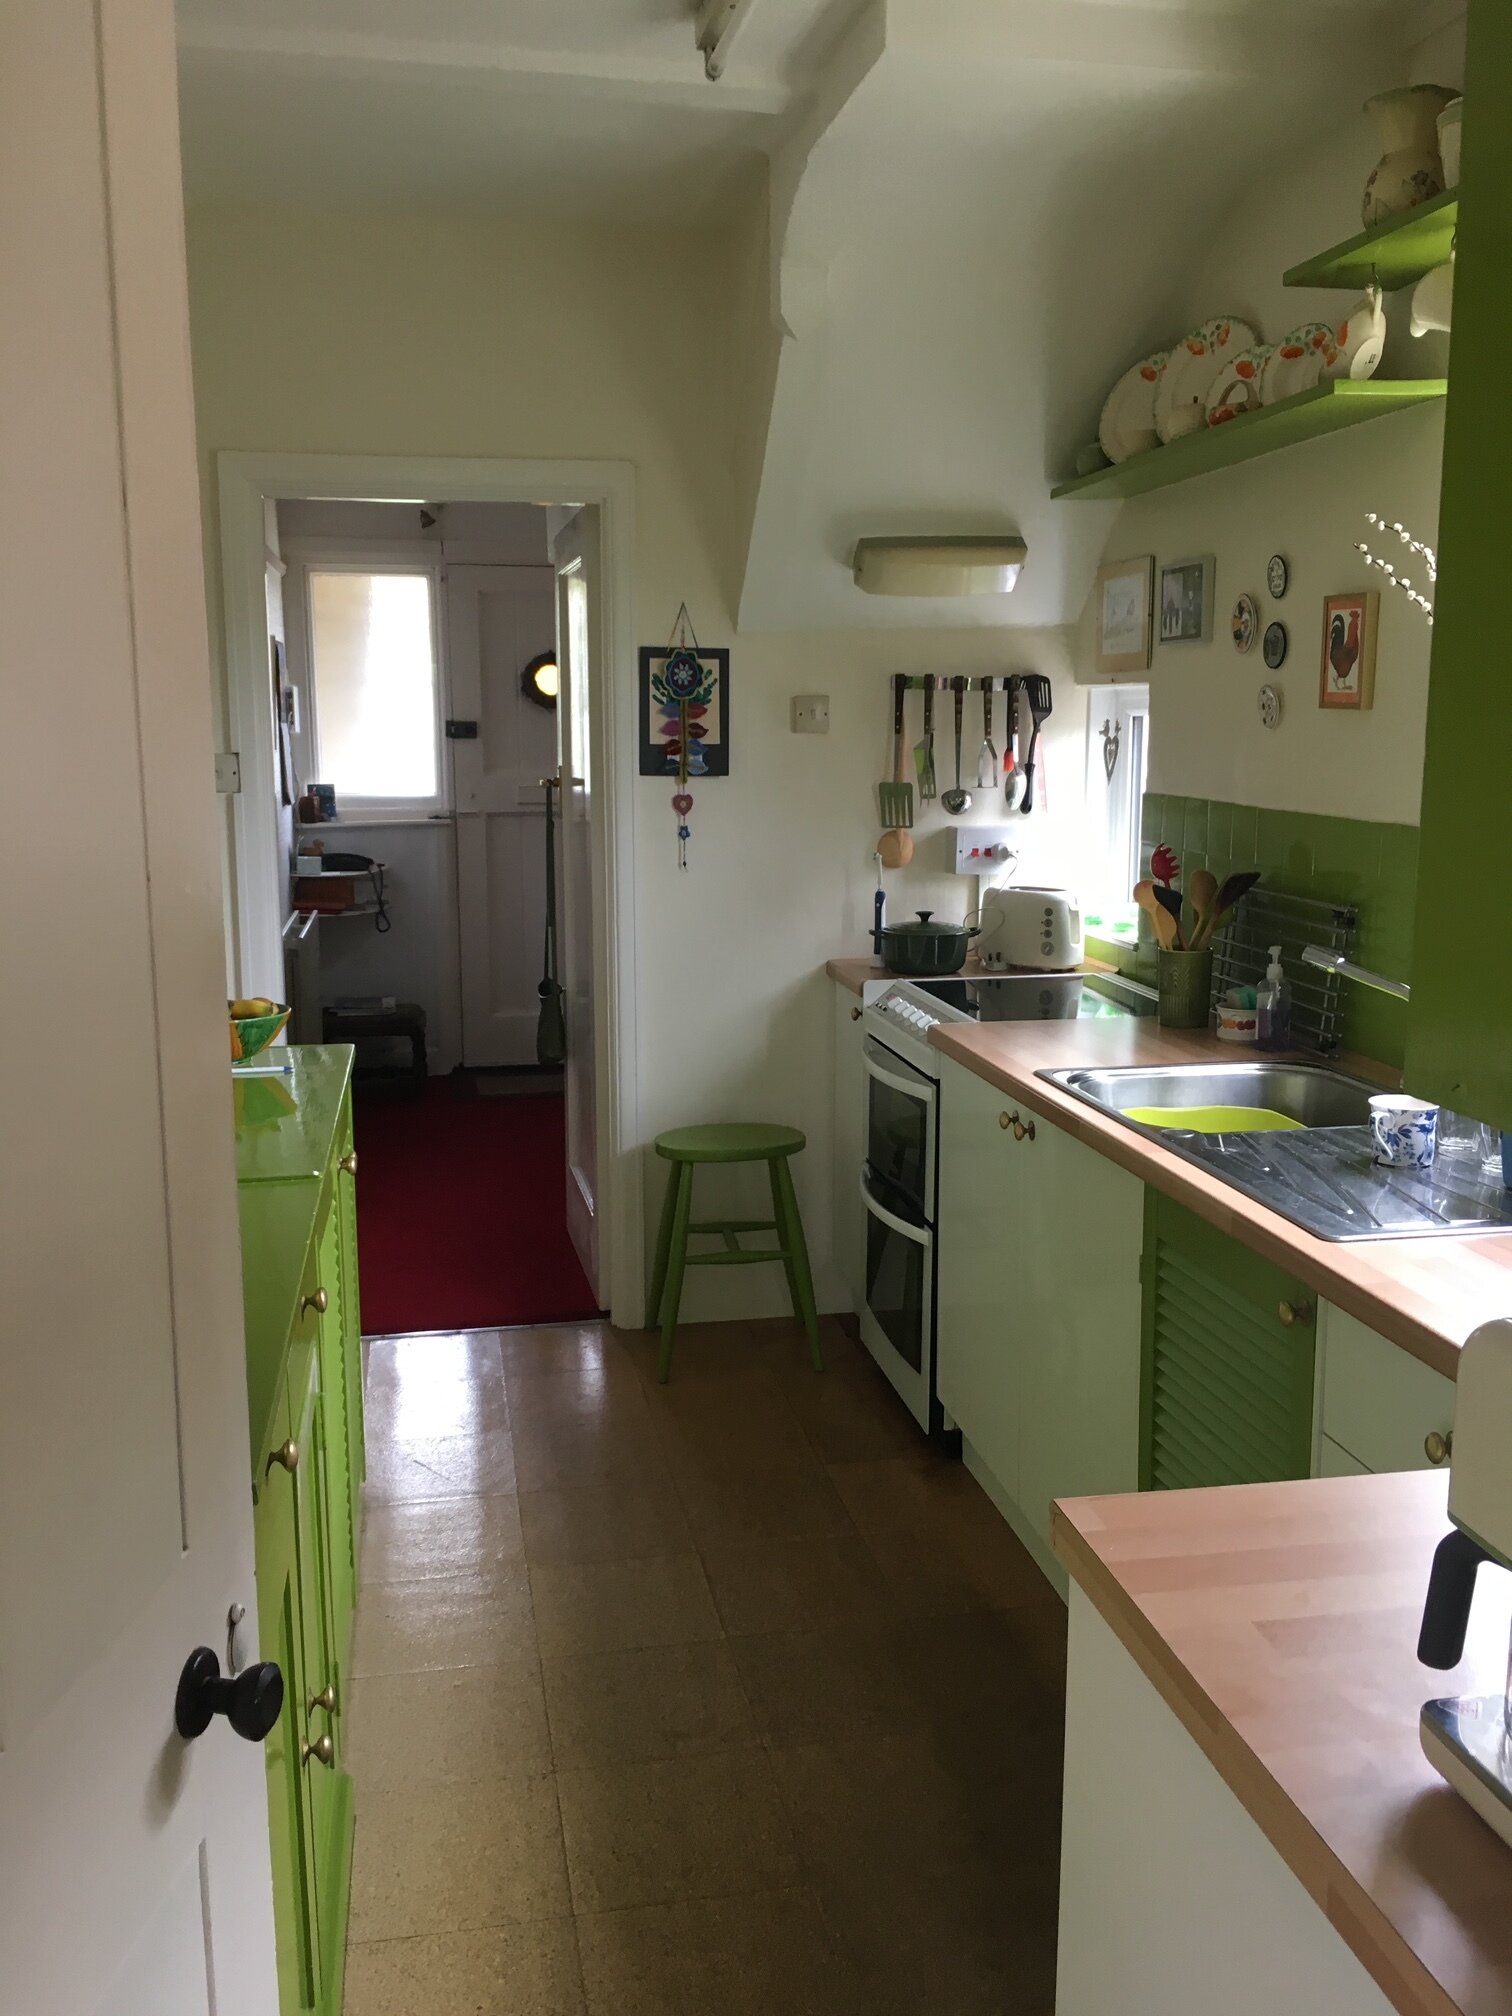
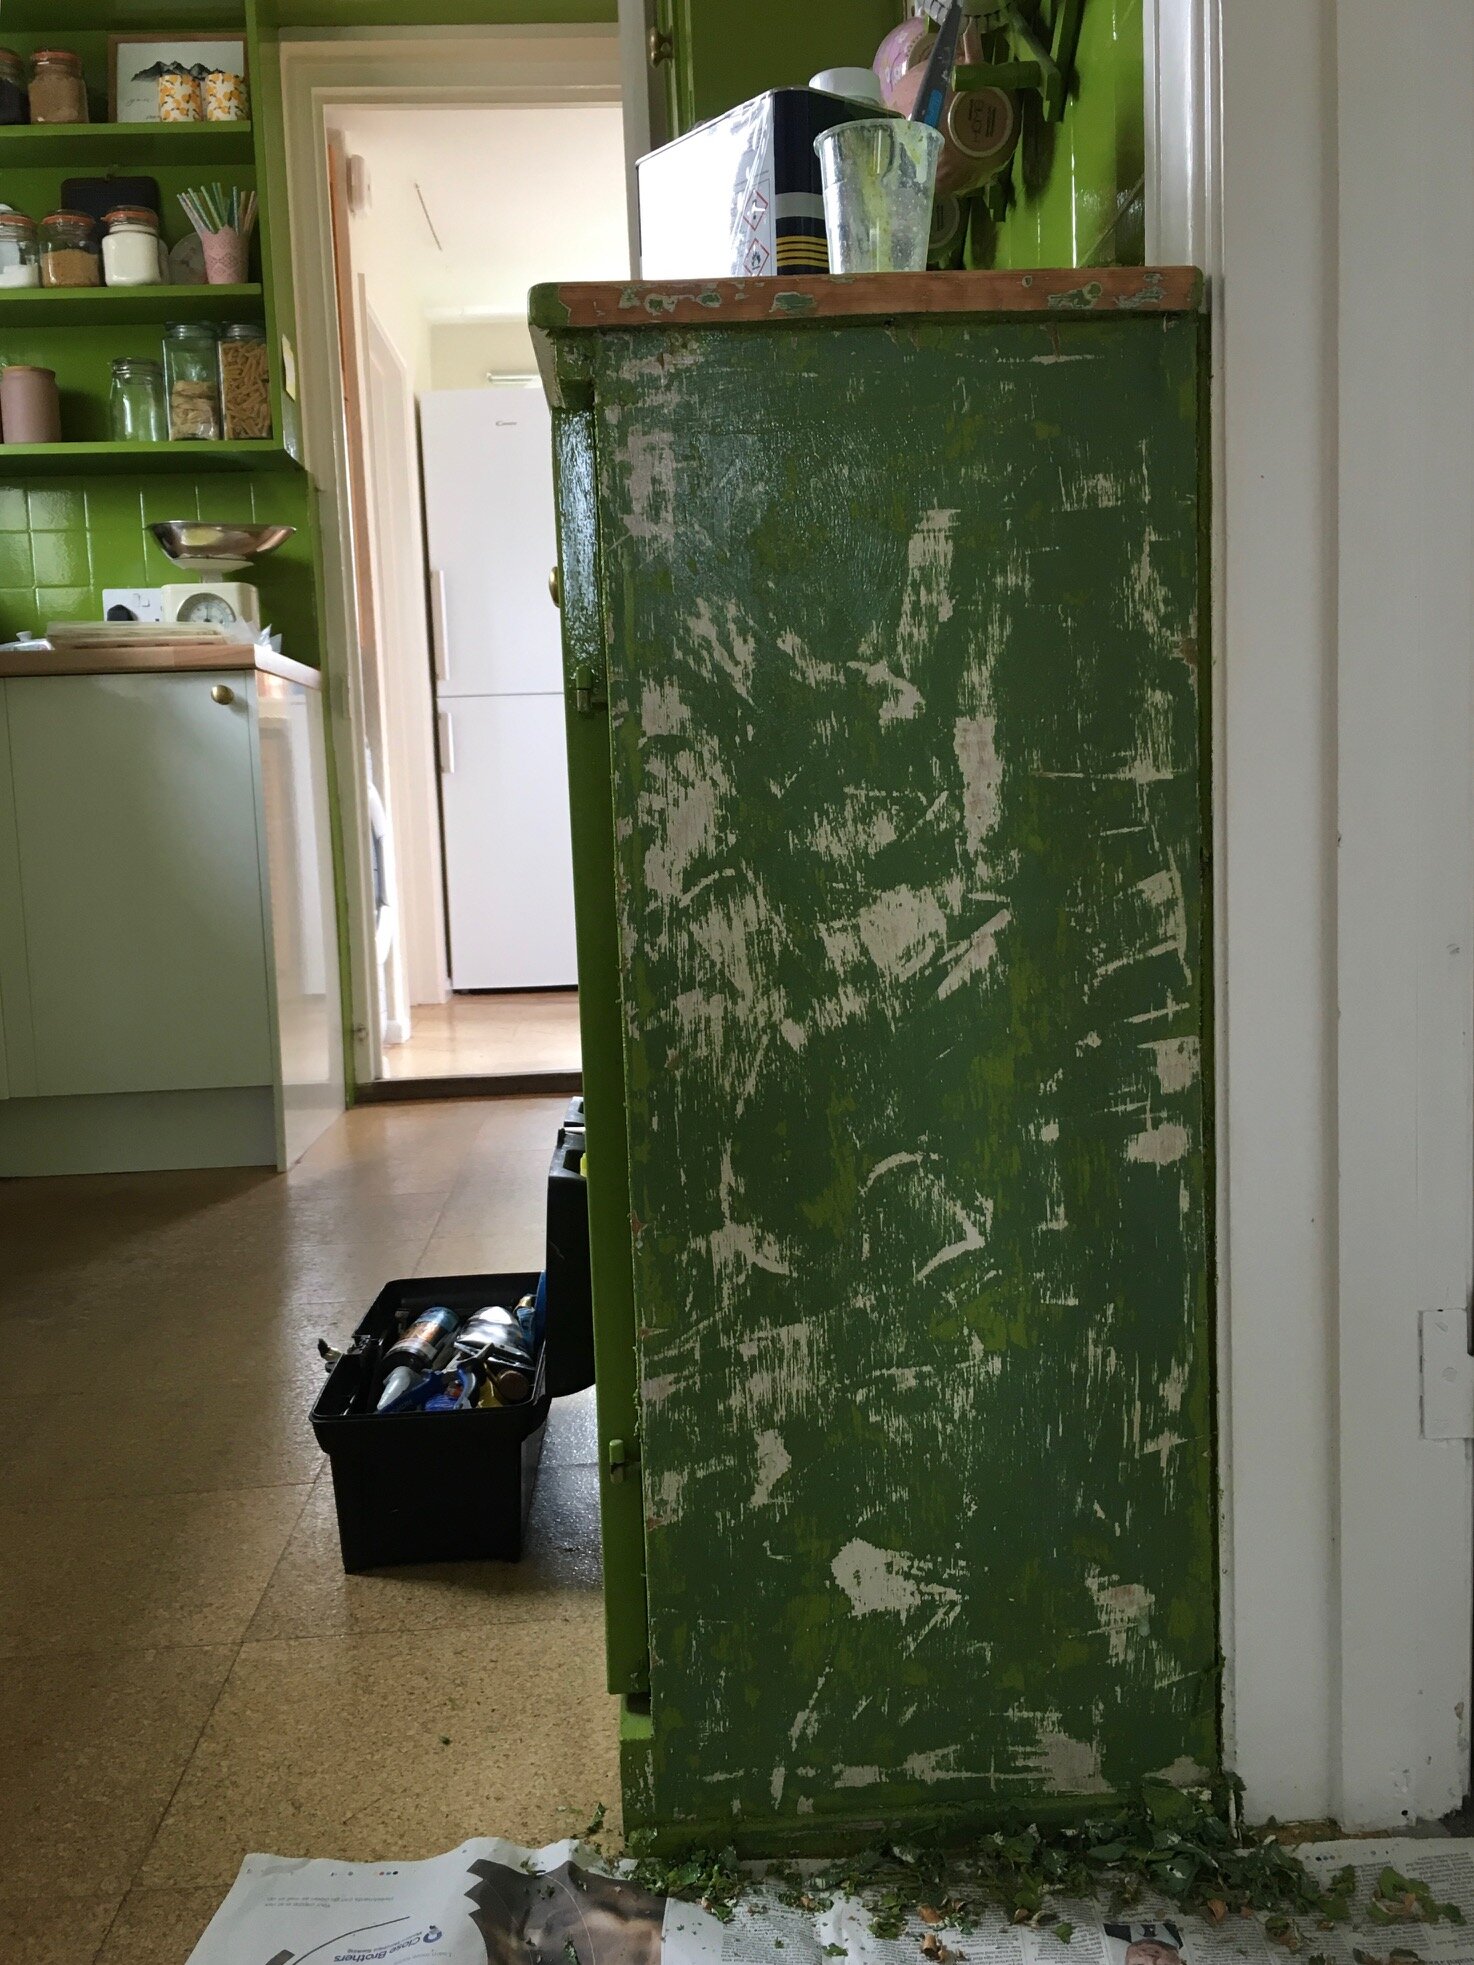
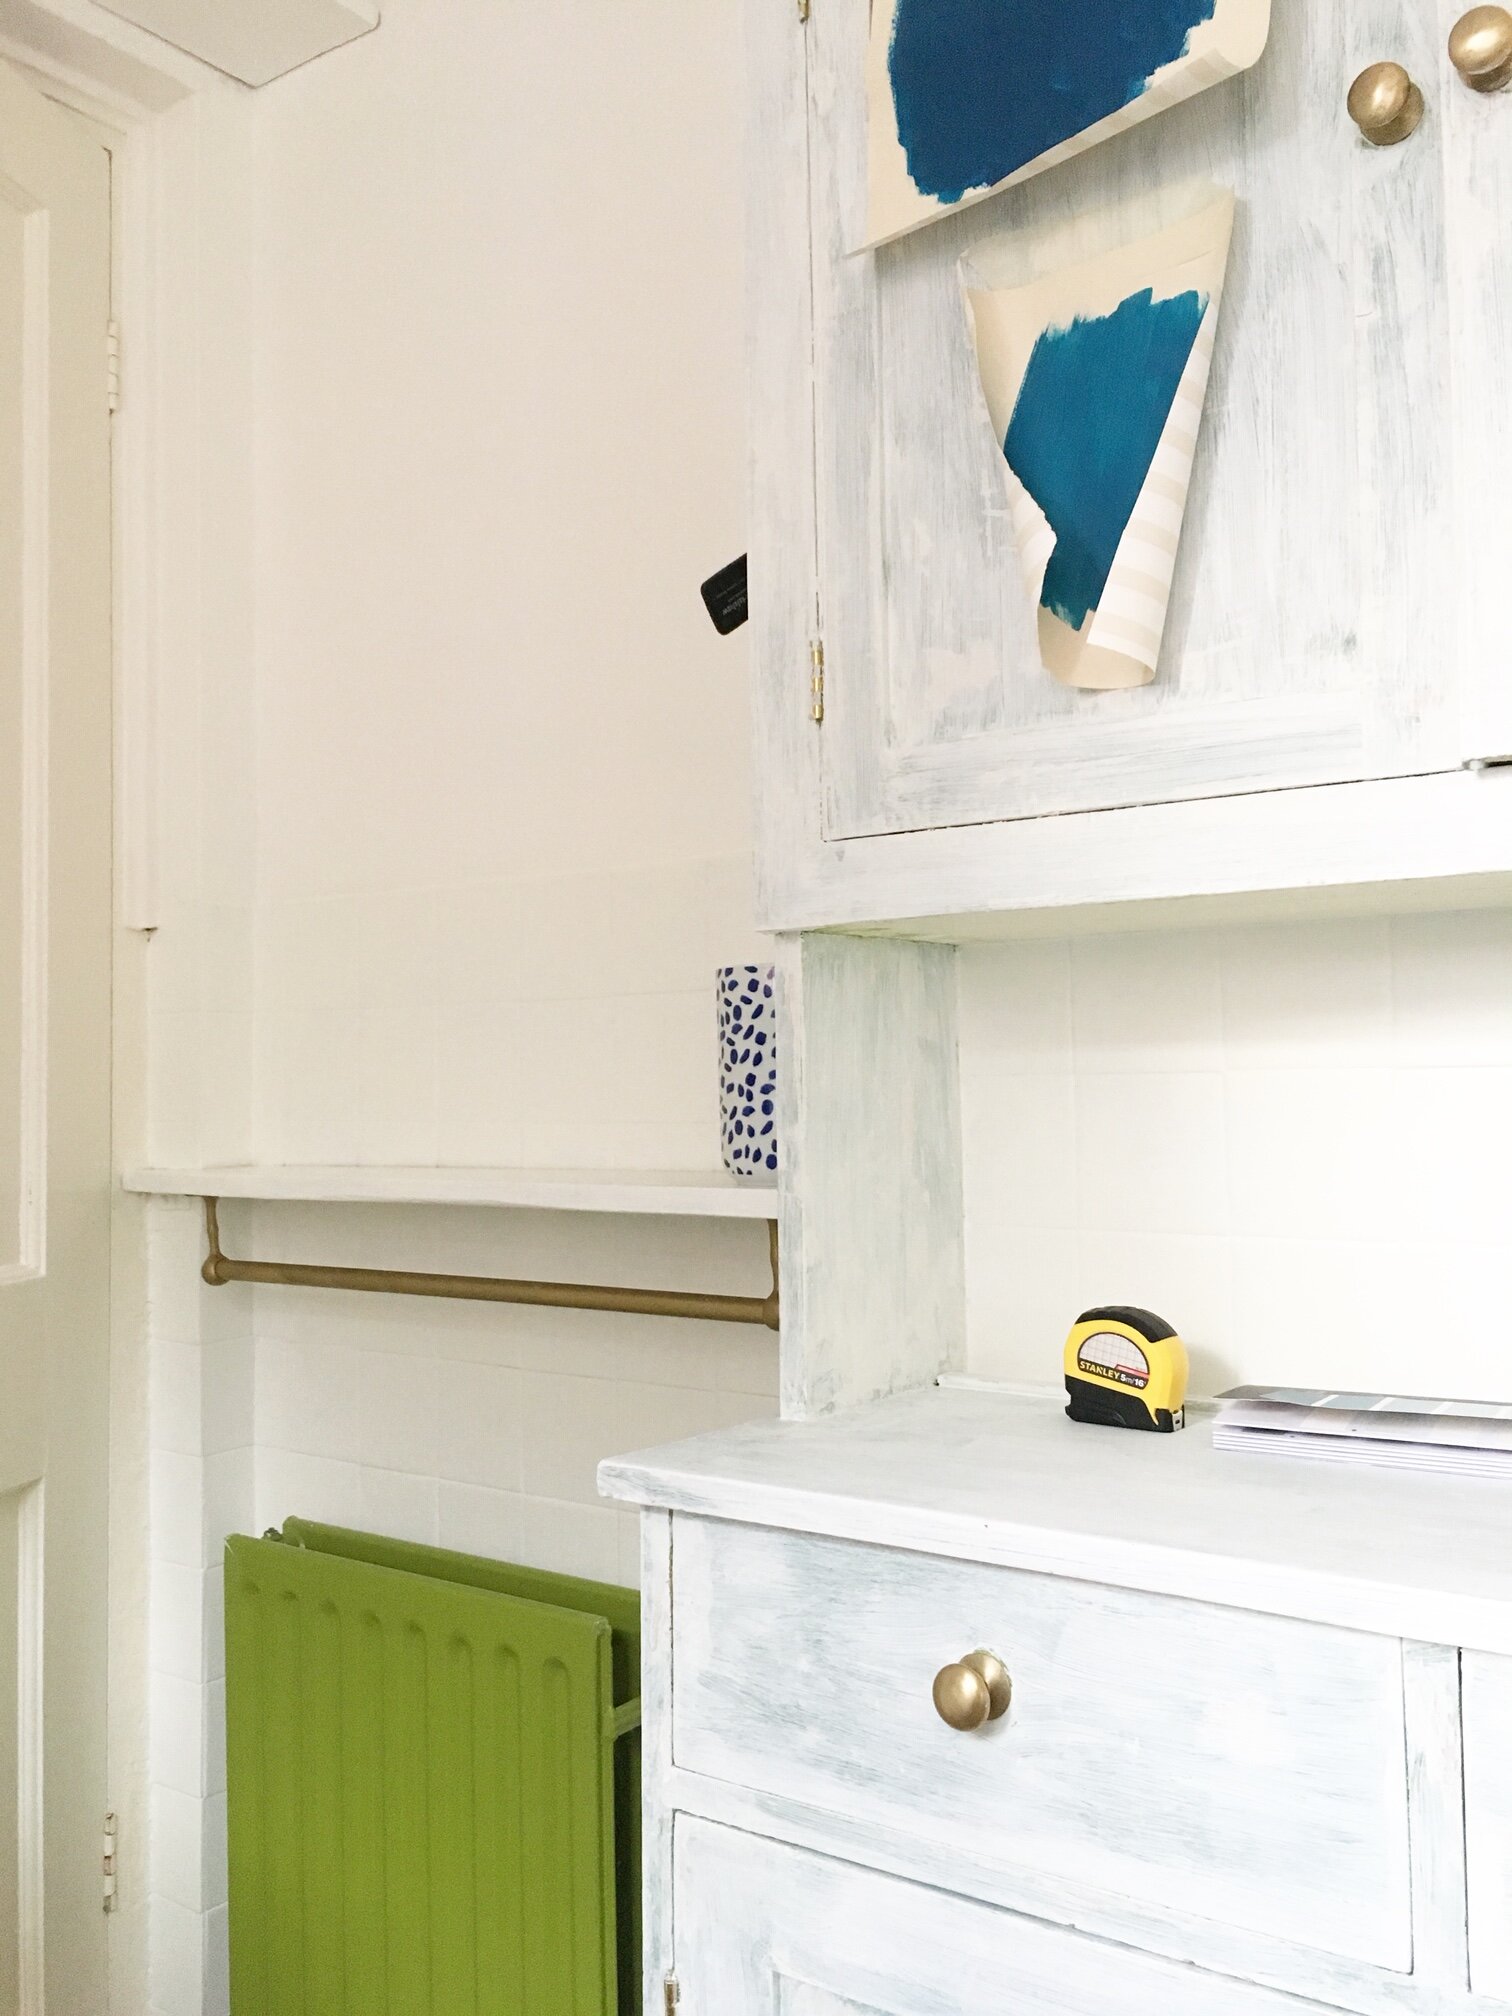
There was lime green EVERYWHERE. On the kitchen units, on the tiles, on the shelves, on the radiator. Even the mug rack, the washing up bowl and the kettle shared the same luminescent bogey green. As much as I hated it though - I loved it in equal measure. It was so horrendous in all its green heavy gloss glory that no one else wanted to buy what is actually a rather lovely house. Hurrah. Too bad our toddler then went around telling everyone our long awaited and anticipated family home had a kitchen which was 'dis-GUST-ing.'
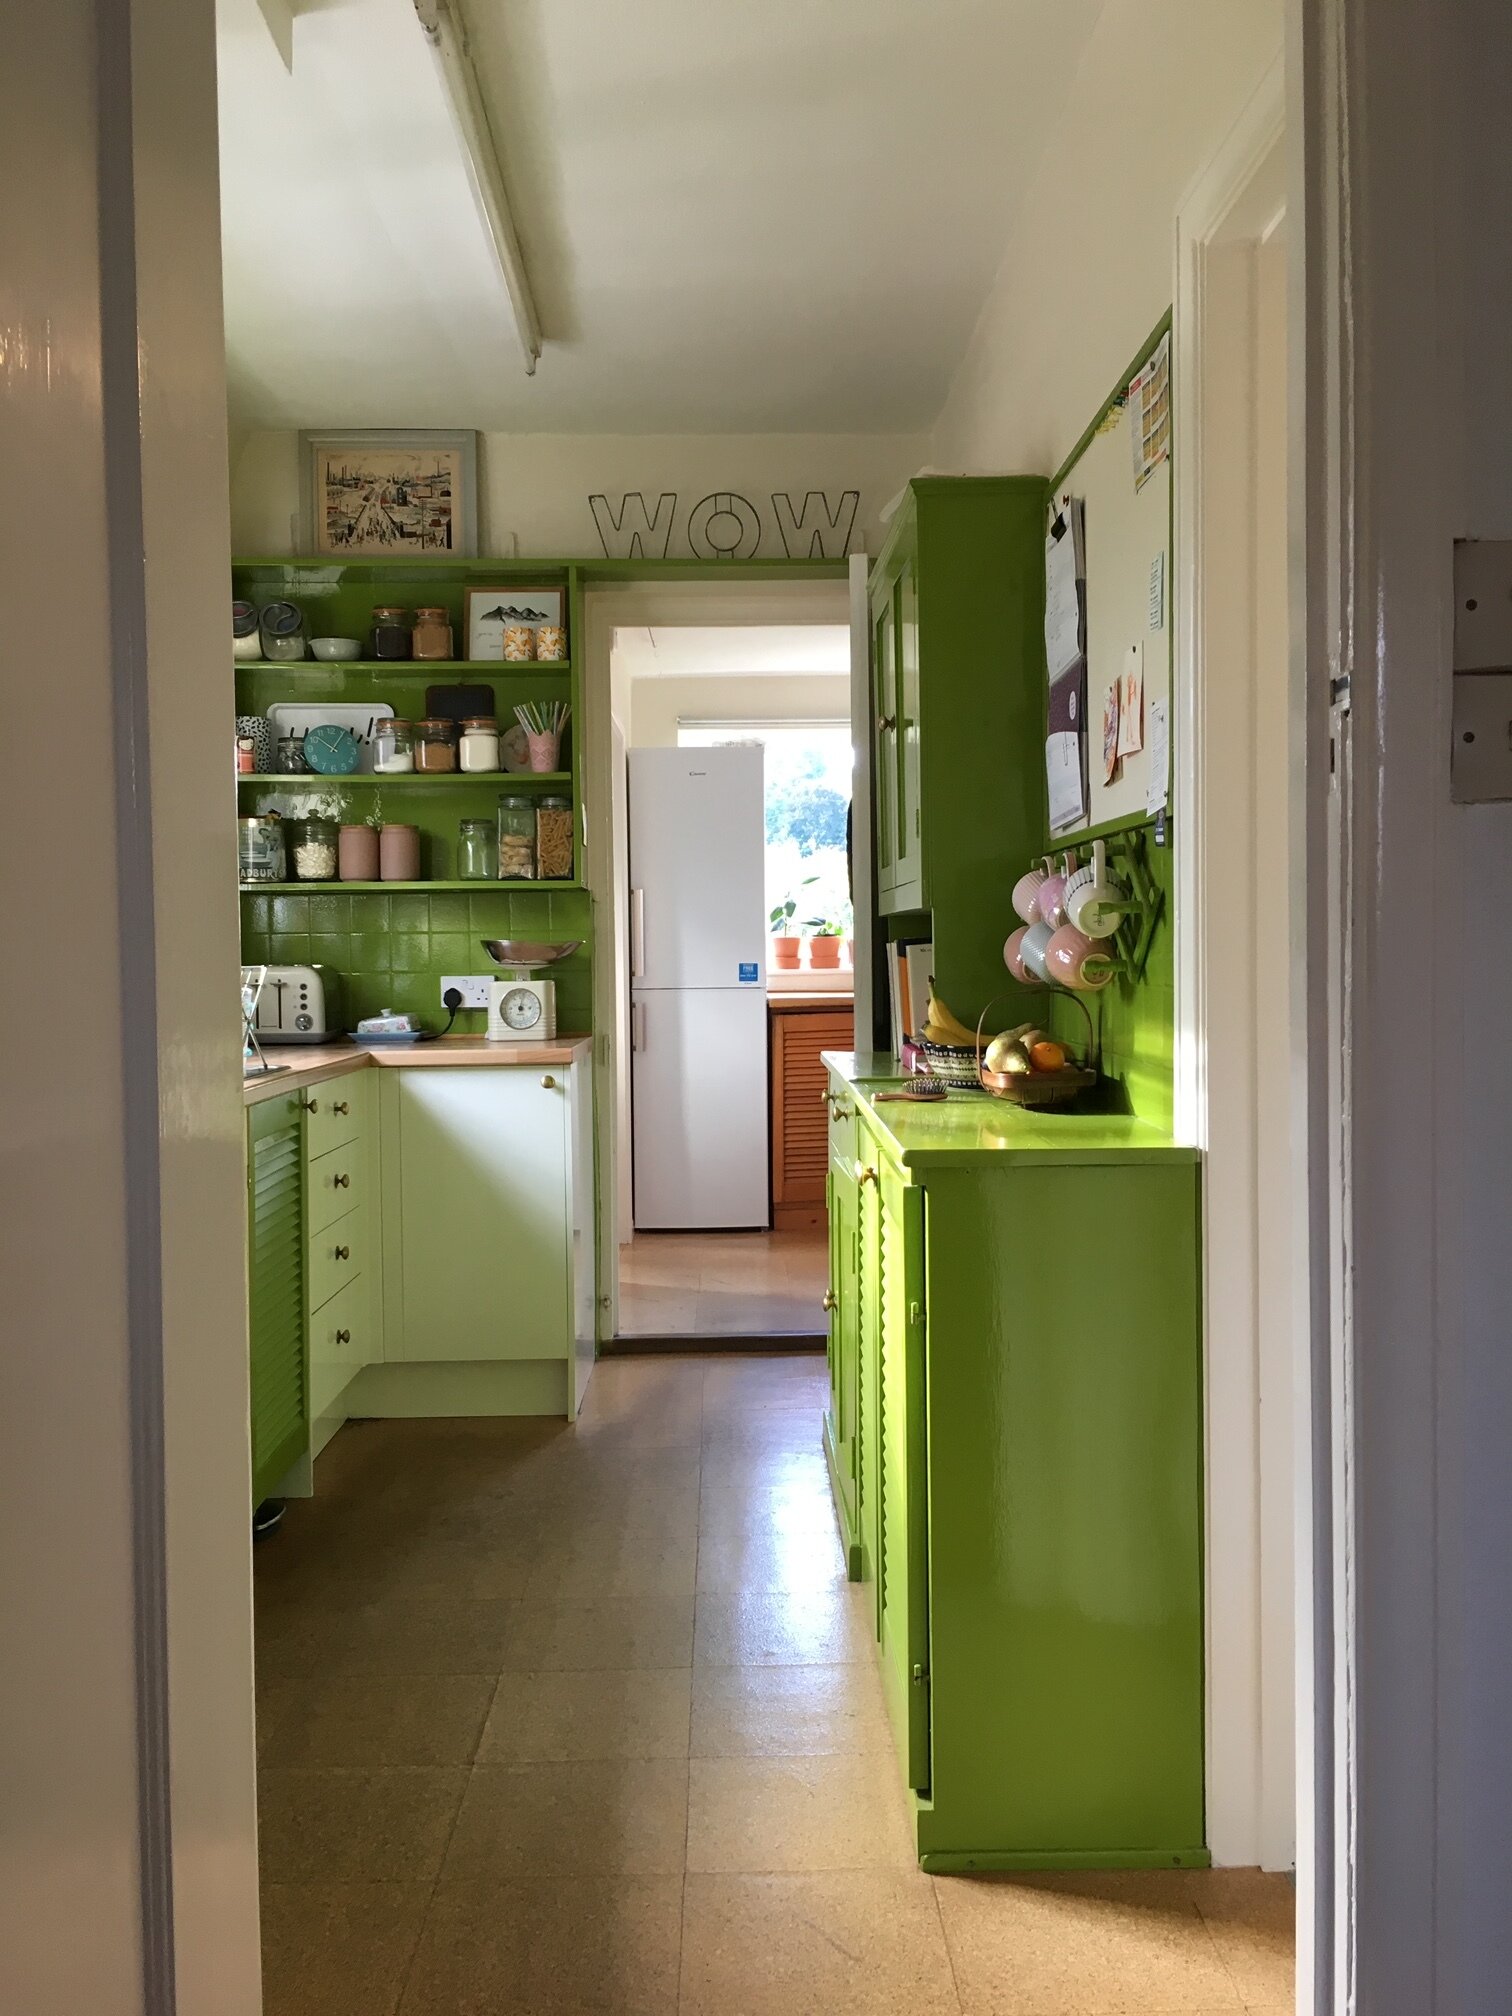
I started off by stripping back the large freestanding cupboards to see what the wood was like underneath. I was toying with taking them right back to wood or painting it blue, and after a few evenings spent combining intoxicating paint stripper chemicals with my tired broken nights and frazzled house move mind, I decided it wasn't worth the effort and I would just paint it after all!
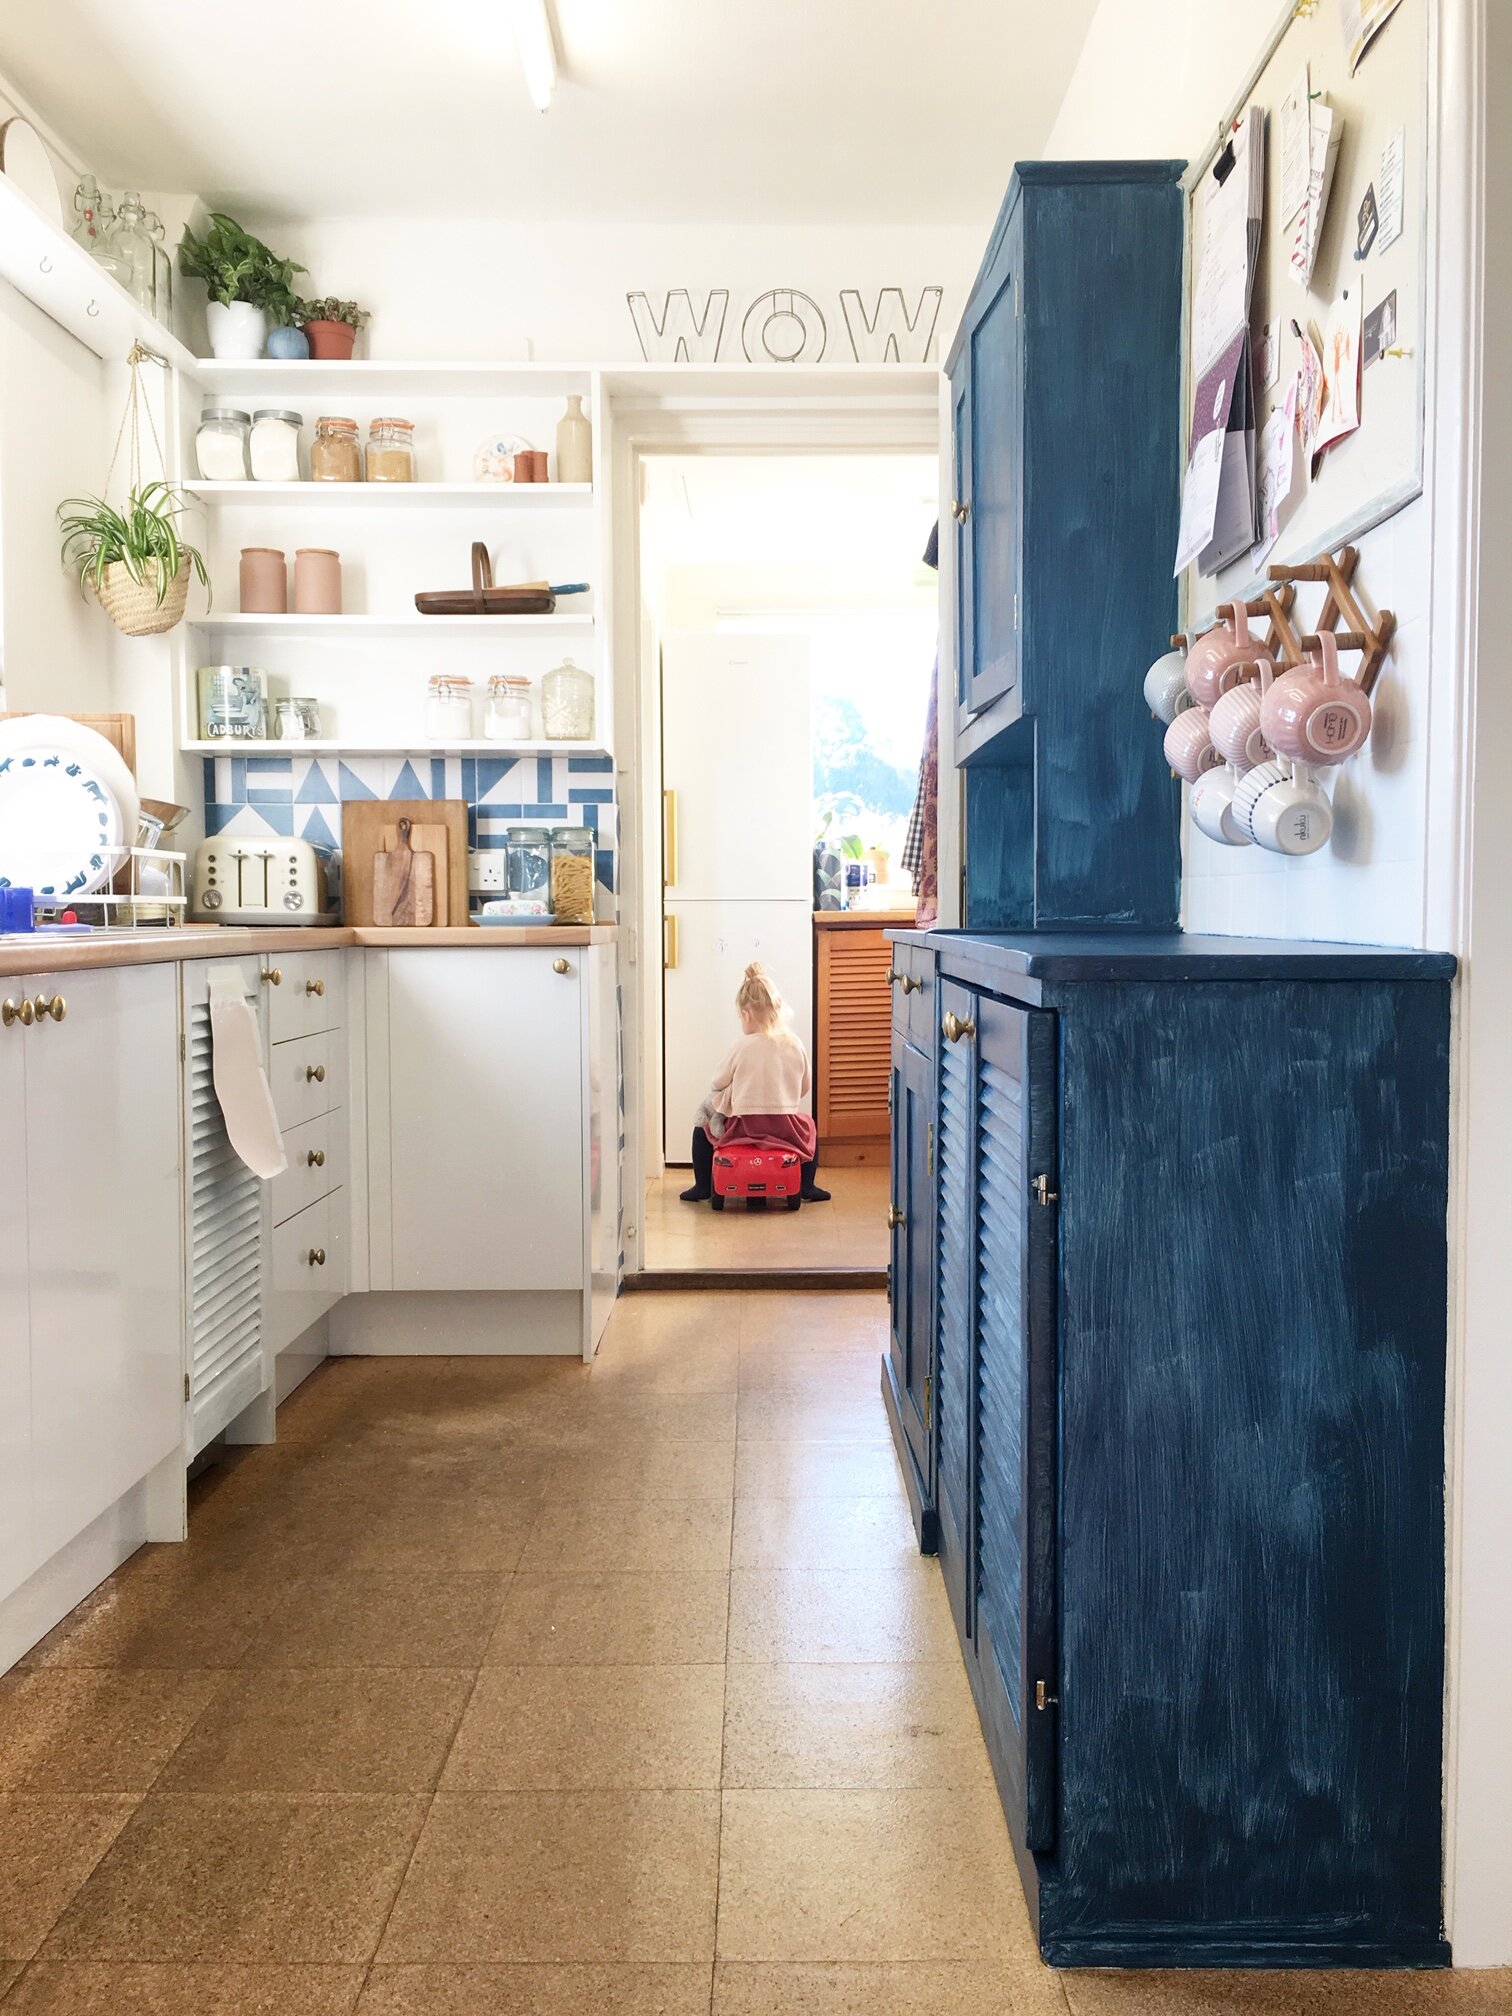
We removed one shelf over the cooker and painted the others white to blend in with the walls (also painted in Dulux Brilliant White). Thankfully the units are non-offensive so they will stay for now. We painted the slatted cupboard, which is where the bin lives, in Farrow and Ball Calamine and the large free standing cupboard opposite is in Dulux Venetian Crystal satinwood.
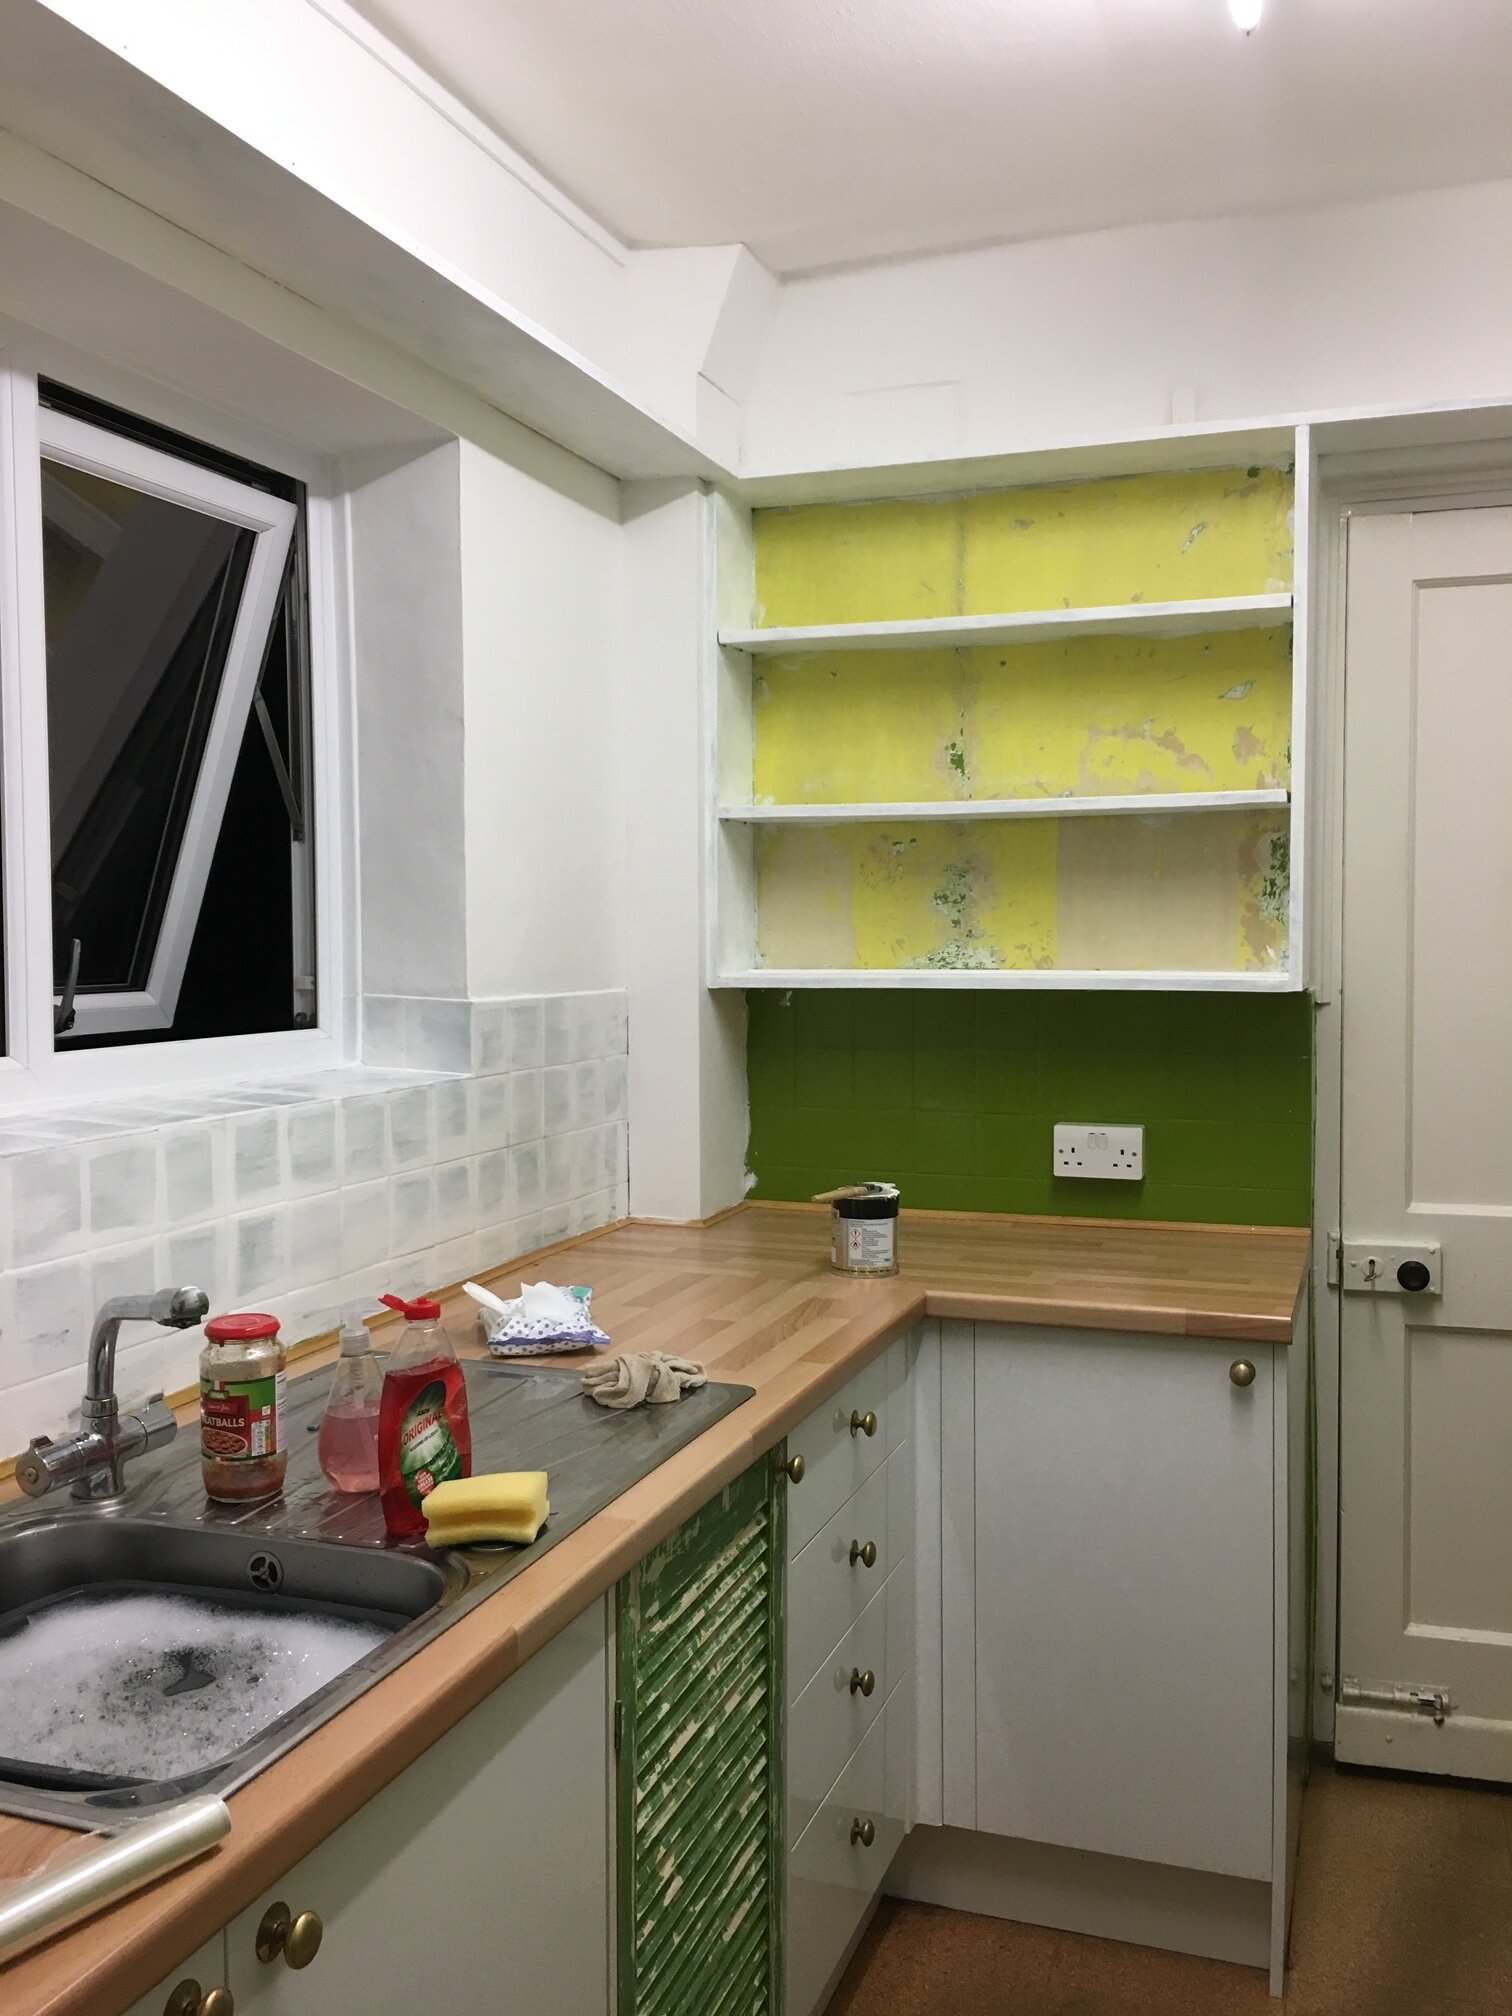
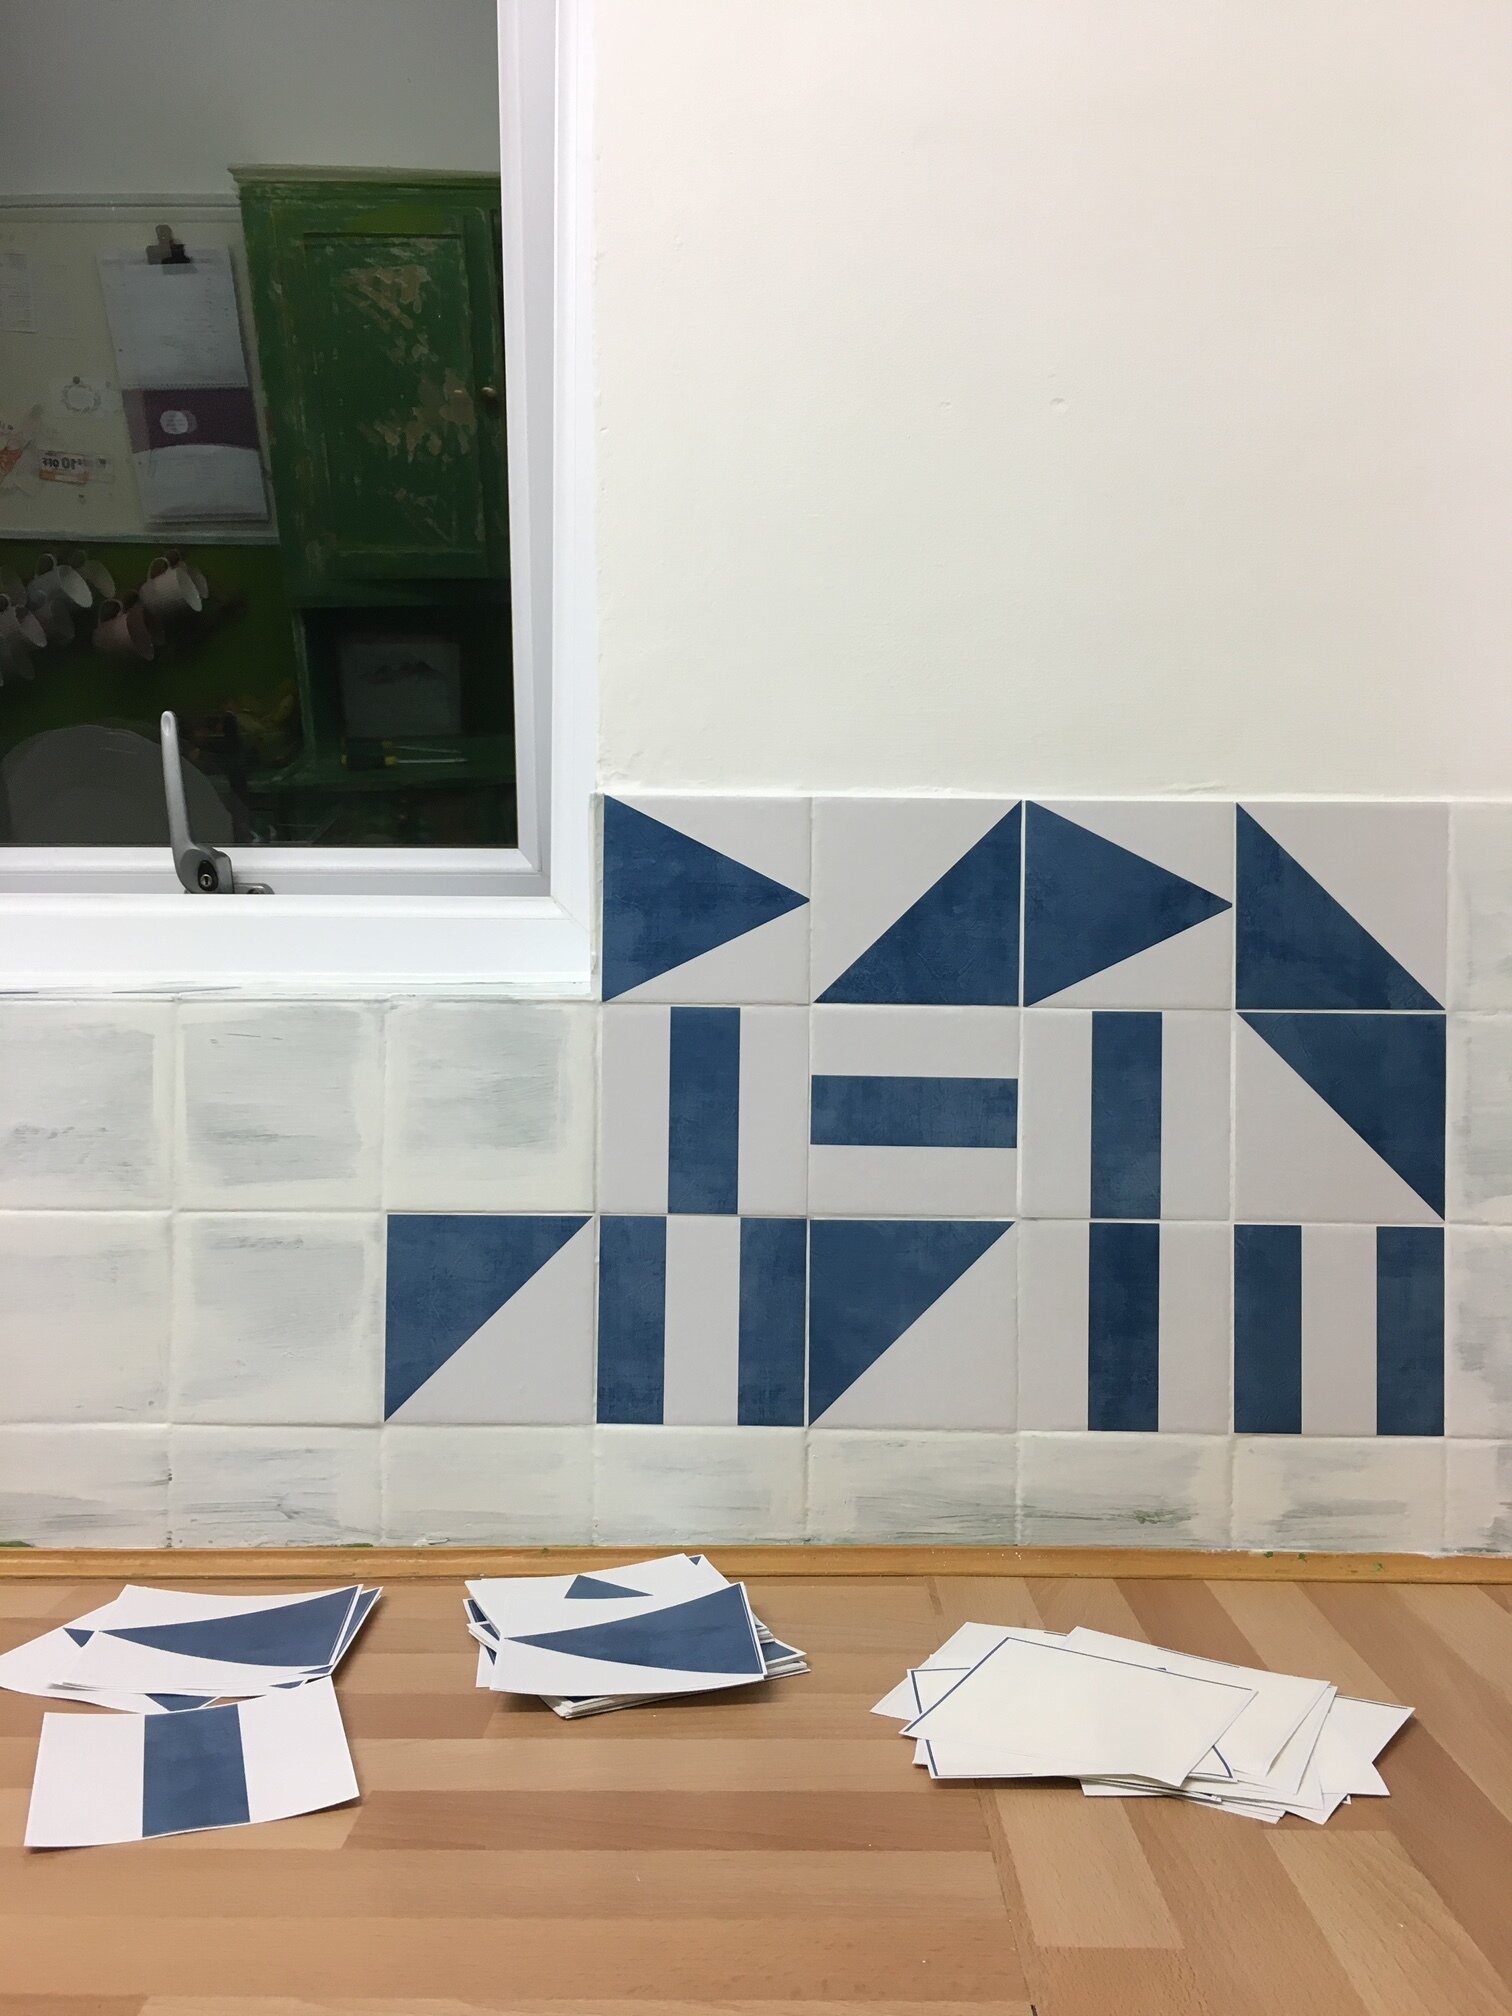
As this was a budget makeover and we wanted it finished (in three weeks) before all the tradesmen started coming in to do the rest of the house, we decided to use tile stickers. I am not a great tiler, nor did I fancy rectifying the inevitable mess that would occur when we took the current tiles down. The tiles are on every wall too so it would've been a time consuming job for someone who's tiling CV consists of one very uneven fireplace hearth.
Not that it mattered either way in the end, because the tile stickers are awesome. They were so easy to use and took me about 5 hours in total including painting an undercoat to ensure the green didn't show through. We've had them six months now, they wipe easily and seem durable enough and everyone who comes to visit are amazed at how real they look.
Well, ok, my friends would hardly tell me they look crap but you know, I'm gonna believe what I want to hear, so... you tell me, what do you think?
Changing the electrics wasn't part of the original plan, but as we decided to get all the switches and sockets in the rest of the house changed, it made sense to continue that into the kitchen. Especially as this corner was looking SO ugly with all it's weird angles and switches. It's still not the perfect corner, but then it never will be with a cooker like that?! But I love the new wall light which is certainly an improvement on the original and ties the white, pink and brass colours in beautifully.
On the other side of the room, we needed four coats of white tile paint 'til we were satisfied you couldn't see any of the green coming through. It's not fun to work with as has the consistency of toothpaste but boy, doesn't it freshen them up?! I also spray painted the handles on the fridge and the towel rail (behind the door) brass to match the cupboard handles and the radiator (which was also green) got the white treatment too.
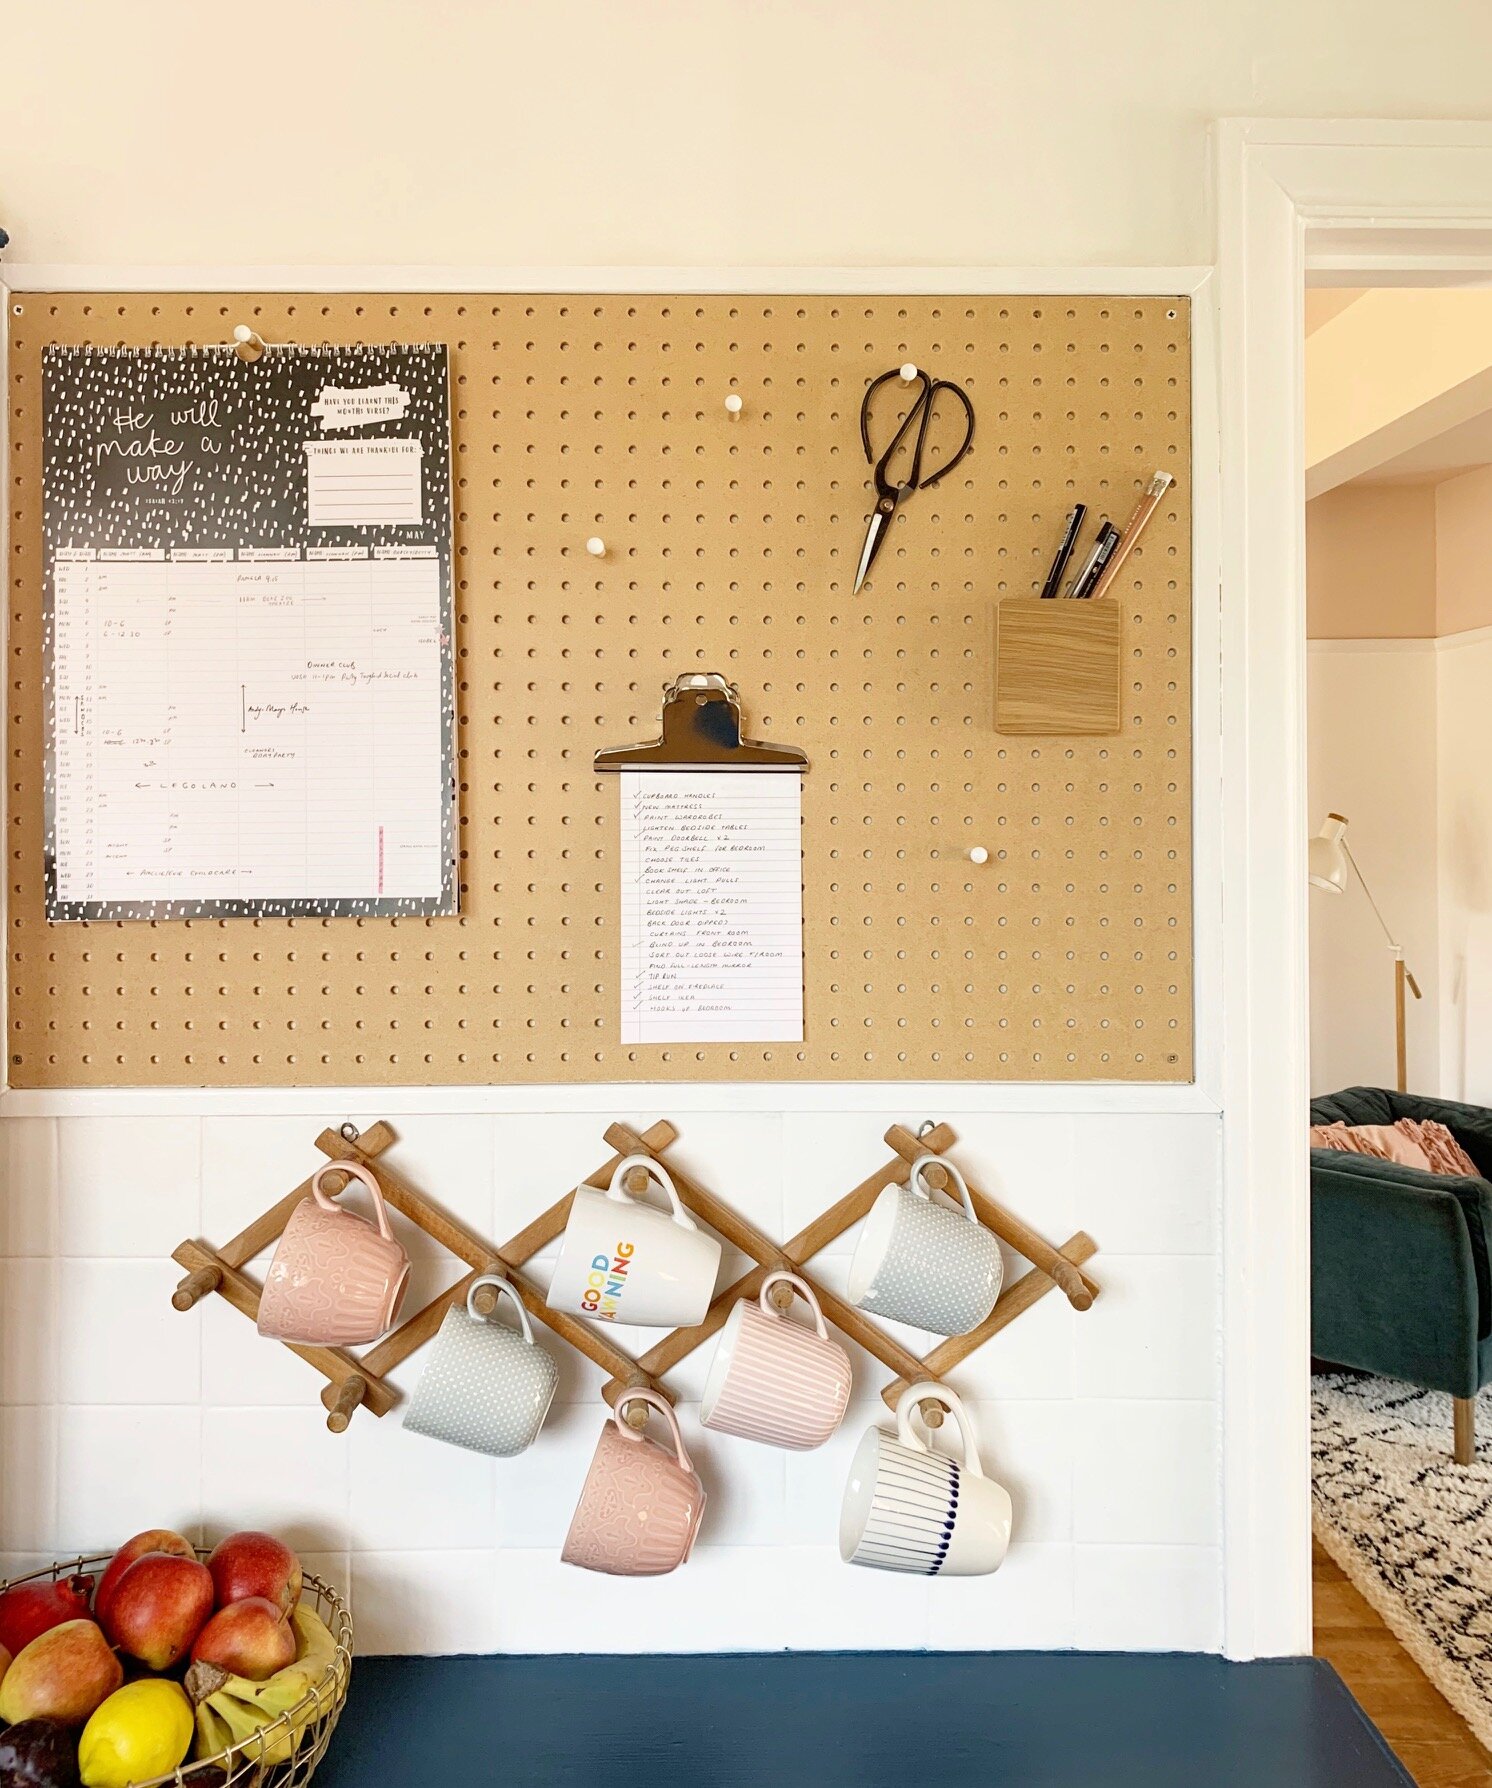
I knew I wanted to keep some sort of notice board but couldn't work out what to do with the one the previous owners had left us. I dallied between painting it with black board paint, or just keeping it white, and even asked my Instagram followers which they preferred. The answer was overwhelmingly for the black board idea but despite their confidence, I never felt happy with it. The black would have clashed with the blue cupboard and all been too dark for this light and bright interiors kinda girl.
A notice board on the other hand, ends up looking like someone has just vomited receipts, school letters and unicorn party invites all over it with the discount voucher lurking underneath that lives there 6 months past its expiry date, reminding you what a pillock you are for buying those drill bits at B&Q which you could've got at Screwfix for £10 less if only you had remembered the sodding voucher.
The pegboard, I think, fixes both these issues. I love the bare wood matching in with the natural wood (ok... it's actually laminate) on the worktops and it adds warmth into a room that was beginning to look a tad clinical. Pegboard accessories from Block Design add a nice touch and the sheer impracticality of it (as in, it's not that easy to stick a note up) is actually its saving grace because it results in an area only dedicated to life's true necessities. A pretty calendar with great bible verses, pens, the renovation to do list and those pretentious Instagram scissors. I mean, what else do you need?!
I am currently toying with sanding the cork floor slightly as it is very marked and darker in the heavy traffic areas but I know it will be a horrible dusty job so I'm cracking on with everything else in order to procrastinate about that one for a little while longer.
We also haven't painted the door between the kitchen and utility because I'm considering getting it dipped which will strip it right back to the original wood. Apart from those adjustments, I am loving this room as it is for now. Yes, the worktops aren't my personal choice and the slow electric hob drives me potty but for the money we spent, and the time it took? I reckon I can live very happily with it for another three years or so.


Resource List and Budget:
Tile Stickers - Brasilia from Moonwall Stickers £157
Pink on cupboard door - Farrow and Ball Calamine £26
Blue on freestanding cupboard - Dulux Venetian Crystal Eggshell £16
Undercoat and woodwork paint - Dulux Satinwood White (leftover from previous house)
Undercoat for fridge handles and towel rail - Rustoleum Surface Primer White £8
Gold spray paint for fridge handles and towel rail - Liquitex Spray Paint in Antique Gold £10.50
Wall Light - Aureole from Spark and Bell £79
Pegboard - 6mm perforated sheet from eBay £35 (used off cuts for pegboard in office too)
Light switches x2 plus oven switch/socket x1 - Tarnished Copper range at Socket Store £81
Total Cost: £412.50
What do you think of the kitchen makeover? Would you have tackled a project like this within the first weeks of moving house? Let me know in the comments below...
You can also follow me on: